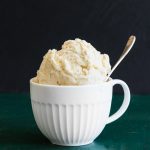
This classic vanilla bean ice cream is a great accompaniment to almost any dessert, or perfection on it's own!

At some point in life, we all have to face the big questions. Where am I doing with my life? What is the meaning of life? How do you make ice cream from scratch? You know, the really weighty stuff. And if Vanilla Bean Ice Cream is your jam, I can help you with at least one of those questions.
It's a classic and favorite flavor, as well as being the base of pretty much all of my other ice cream recipes (I've linked them all at the bottom of this post). Give it a try! You just might end up hooked on homemade vanilla ice cream.
This recipe is a custard based recipe, meaning you'll cook a mixture of egg yolks and dairy products (cream and milk in this case) to create a thick custard to be churned and frozen into ice cream. It's based on David Lebowitz's amazing recipe--he's one of my favorite recipe writers (and writers in general!). I did change up his method a bit to try for a softer, more scoop-able ice cream.

And a scoop of vanilla bean ice cream is perfect on it's own, but even better when a topping is added, like instant magic shell, or strawberry compote.
How to Make Vanilla Bean Ice Cream
- Begin by preparing your ice cream maker. Set a mesh sieve over a medium sized mixing bowl.
- Separated 5 eggs and place the yolks into a small mixing bowl. Whisk them with ½ cup (4 oz.) of whole milk until smooth.
- Place remaining ½ cup (4 oz.) of whole milk and 2 cups (16 oz.) of whipping cream in a sauce pan with the ¾ cup (150 g) sugar and the pinch of salt. Heat over medium low heat, stirring occasionally, until the mixture is steaming and hot.
- Slowly ladle or drizzle about half of the steaming milk and cream mixture into the egg yolks while whisking vigourously. This tempers the egg yolks and warms them gently, which prevents them from cooking too quickly.
- Pour the entire mixture back into the sauce pan. Cook it over medium low heat, stirring constantly, until the mixture has cooked and thickened enough to coat the back of a spoon without running off. It should be around 194°F (90°C) when it's done.
- When it's finished cooking, pour the custard through the sieve into the bowl. Whisk in the insides scraped from a vanilla bean or 1 Tbsp. of vanilla bean paste. If using the vanilla bean, you can add it to the custard while it cools for even more flavor.
- Place a sheet of plastic wrap on top of the custard in the bowl. This prevents a tough skin from forming on top of the custard as it cools.
- Chill in the refrigerator until it has completely cooled, at least 6 hours or up to 24.
- When the custard is chilled, churn it according to your ice cream maker's instructions. If you added the vanilla bean pod, remove it before churning.
- After churning, the ice cream will be a soft serve consistency. If you wish for a more traditional texture, immediately transfer itd to a freezer safe container and freeze until the ice cream is frozen solid. This should take about 6-7 hours, but can vary depending on where you store your ice cream in the freezer, and if you are using a deep freeze or not.

Tips and Tricks for Homemade Ice Cream
- Making ice cream can look like a time consuming process, but your actual hands on time is actually pretty short! Make sure to plan ahead and have everything ready based on the type of ice cream maker you own. Freeze the bowl, or be sure to have lots of ice and rock salt on hand, etc.
- Ice cream is actually a great make ahead dessert! It'll keep in a covered container in the freezer for up to 2 weeks. If you see ice crystals on the ice cream, you can scrape a small layer off and the ice cream underneath will be just fine.
- You may still end up with tiny bits of cooked egg yolk in your custard. That's what the sieve is for, so be sure to not skip that step to insure smooth ice cream.
Can Vanilla Extract be Used in Homemade Ice Cream?
Yes, it absolutely can! Vanilla comes in 4 different forms--whole beans, vanilla bean paste, vanilla powder, and vanilla extract. You'll have the strongest, most complex flavor if you use a whole bean, and vanilla extract packs the least amount of flavor punch. But it's alcohol content can also give a lovely, complex flavor to your ice cream so don't be afraid to use extract if it's what you've got on hand.
Side note: I would recommend avoiding vanilla bean powder unless you can be sure that you're getting a real vanilla product. Many powders have additives and are in reality not a whole lot of vanilla.

Why Can Homemade Ice Cream Be So Hard to Scoop?
Ice cream is a highly scientific creation that requires a balance of several elements to be soft enough to scoop while firm enough to hold it's shape. There are a few things that don't freeze-alcohol, fat, and sugar. Our homemade ice cream needs to have enough of these elements to balance the liquid in it that would freeze into a block of ice if left to itself.
We're skipping the alcohol (though there will be a small amount if you used vanilla extract) in this recipe and focusing on fats and sugar to give this ice cream the perfect texture. The whipping cream and egg yolks are providing the fat. ¾ cup (150 g) of sugar is the perfect amount to not only give us a great texture. but also to give us an ice cream that isn't cloyingly sweet.
Another element worth mentioning is that air that is whipped into the ice cream during the churning process. Commercial ice cream makers have an advantage in that their churns have powerful motors that incorporate more air into the ice cream. But don't worry! You can make up for that at home and give those pros a run for their money. First, churn the ice cream for as long as possible, keeping it as cold as possible by:
- Make sure all of your components (custard, ice cream machine container, etc.) are as cold as possible when you begin churning.
- Cover any open lids in the ice cream machine with a bowl to keep it as cold as possible.
- If you have a frozen bowl ice cream maker, make sure it's cold as possible when you start. If you're adding the ice and rock salt around the container as the ice cream churns, make sure to keep it covered in ice.
- Place the dish you'll be storing the frozen ice cream in in the freezer before churning so that you're transferring the churned ice cream into a cold container and minimizing how much of it melts.
Tools and Special Ingredients for Making Vanilla Bean Ice Cream:
- You can get the vanilla flavor several ways for this recipe. I recommend vanilla beans--they'll give you the strongest, most intense flavor. However, I know their expensive! A bottle of vanilla bean paste is also a great option. It's still a bit of an investment, but it'll last for quite a while.
- Because this is a churned ice cream, you’ll need an ice cream maker. While a good one is a bit of an investment, getting your money’s worth out of it won’t be hard. Because ice cream, of course. This Cuisinart is the one I have and it’s a great starting point!
- This is my favorite ice cream scoop for perfect round balls. And the spring mechanism is strong, so the slider that pushes the ice cream out isn’t going to give out on you.

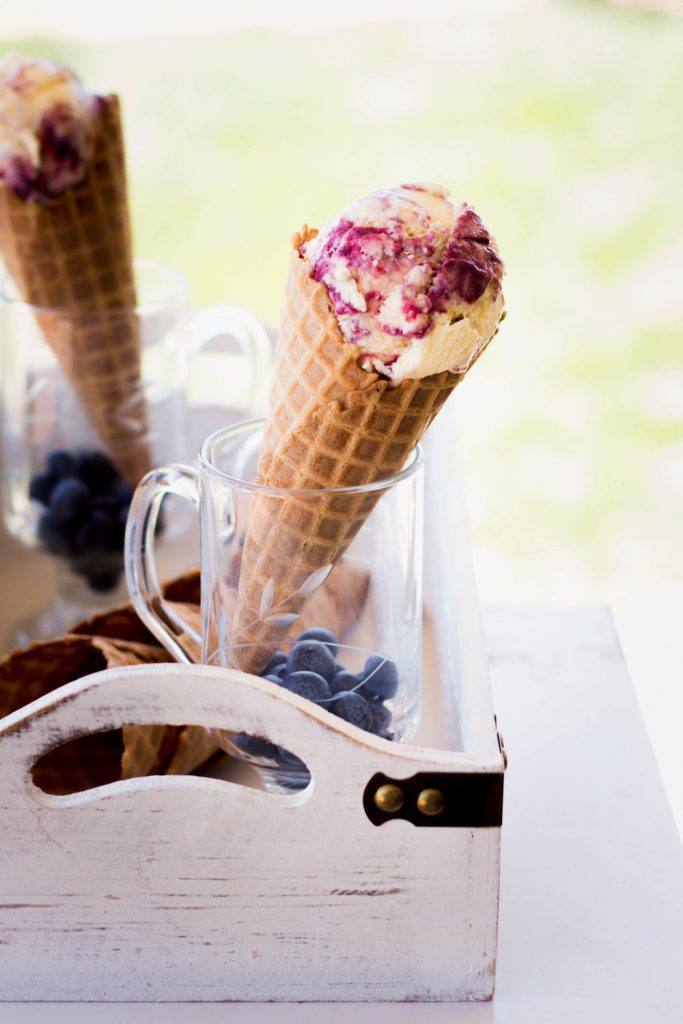
Desserts to Serve Vanilla Bean Ice Cream With
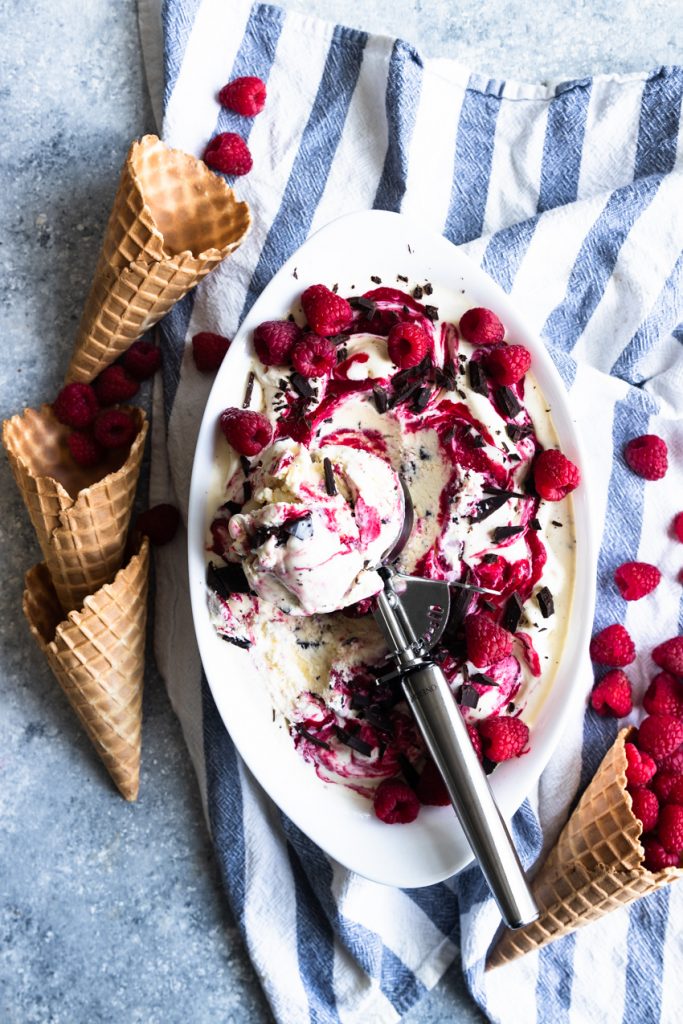
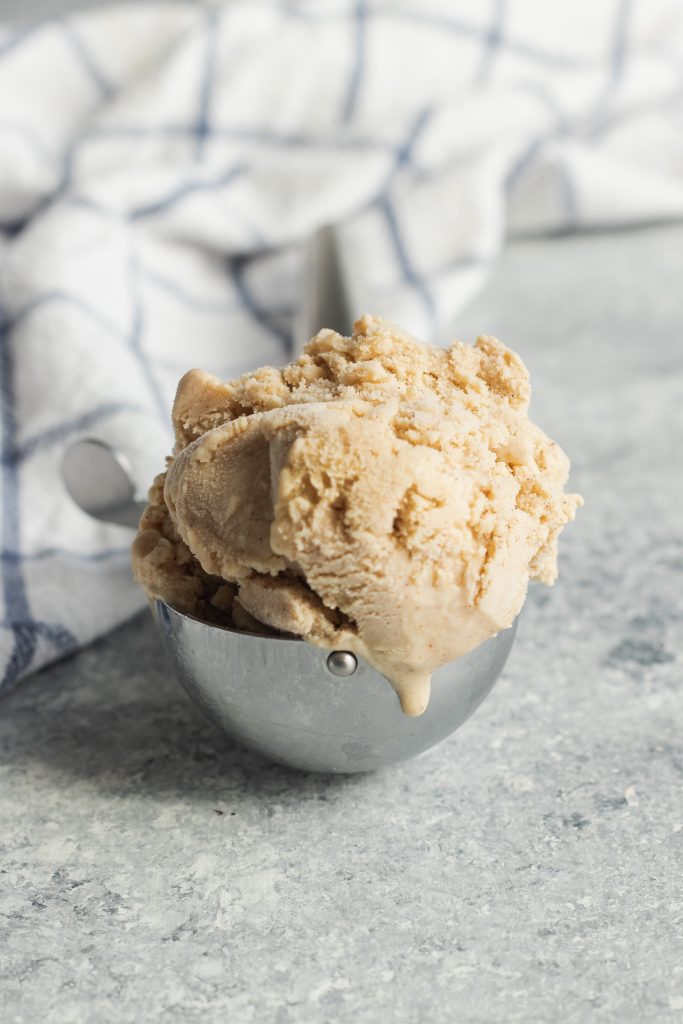
Other Ice Cream Recipes You May Enjoy:
Vanilla Bean Ice Cream
- Total Time: 30 minutes active, +12-14 hours for chilling and churning
- Yield: 1.5 qts of ice cream, about 8-10 servings 1x
- Diet: Gluten Free
Description
This classic vanilla bean ice cream is a great accompaniment to almost any dessert, or perfection on it's own!
Ingredients
- 1 cup (8 oz.) whole milk, divided
- 2 cups whipping cream, divided
- ¾ cup (150 g) sugar
- A generous pinch of salt
- 5 large egg yolks
- 1 whole vanilla bean pod, 1 Tbsp. vanilla bean paste,
Instructions
Begin by preparing your ice cream maker (set the bowl in the freezer, or get enough ice and rock salt on hand, etc.). Set a mesh sieve over a medium sized mixing bowl.
Separated 5 eggs and place the yolks into a small mixing bowl. Whisk them with ½ cup (4 oz.) of whole milk until smooth.
Place remaining ½ cup (4 oz.) of whole milk and 2 cups (16 oz.) of whipping cream in a sauce pan with the ¾ cup (150 g) sugar and the pinch of salt. Heat over medium low heat, stirring occasionally, until the mixture is steaming and hot. Slowly ladle or drizzle about half of the steaming milk and cream mixture into the egg yolks while whisking vigourously. This tempers the egg yolks and warms them gently, which prevents them from cooking too quickly.
Pour the entire mixture back into the sauce pan. Cook it over medium low heat, stirring constantly, until the mixture has cooked and thickened enough to coat the back of a spoon without running off. It should be around 194°F (90°C) when it's done.
When it's finished cooking, pour the custard through the sieve into the bowl. Whisk in the insides scraped from a vanilla bean or 1 Tbsp. of vanilla bean paste. If using the vanilla bean, you can add it to the custard while it cools for even more flavor.
Place a sheet of plastic wrap on top of the custard in the bowl. This prevents a tough skin from forming on top of the custard as it cools. Chill it in the refrigerator until it has completely cooled, at least 6 hours or up to 24.
When the custard is chilled, churn it according to your ice cream maker's instructions. If you added the vanilla bean pod, remove it before churning.
After churning, the ice cream will be a soft serve consistency. If you wish for a harder texture, immediately transfer it to a freezer safe container and freeze until the ice cream is frozen solid. This should take about 6-7 hours, but can vary depending on where you store your ice cream in the freezer, and if you are using a deep freeze or not.
Notes
- Making ice cream can look like a time consuming process, but your actual hands on time is actually pretty short! Make sure to plan ahead and have everything ready based on the type of ice cream maker you own. Freeze the bowl, or be sure to have lots of ice and rock salt on hand, etc.
- Ice cream is actually a great make ahead dessert! It'll keep in a covered container in the freezer for up to 2 weeks. If you see ice crystals on the ice cream, you can scrape a small layer off and the ice cream underneath will be just fine.
- You may still end up with tiny bits of cooked egg yolk in your custard. That's what the sieve is for, so be sure to not skip that step to insure smooth ice cream.
- Prep Time: 30 minutes
- Category: Dessert
- Method: Churning and Freezing
- Cuisine: Traditional


14 Comments