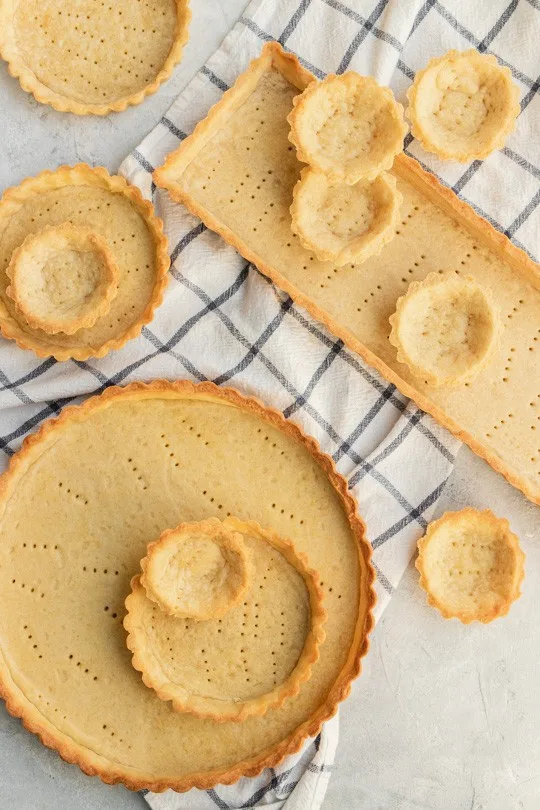
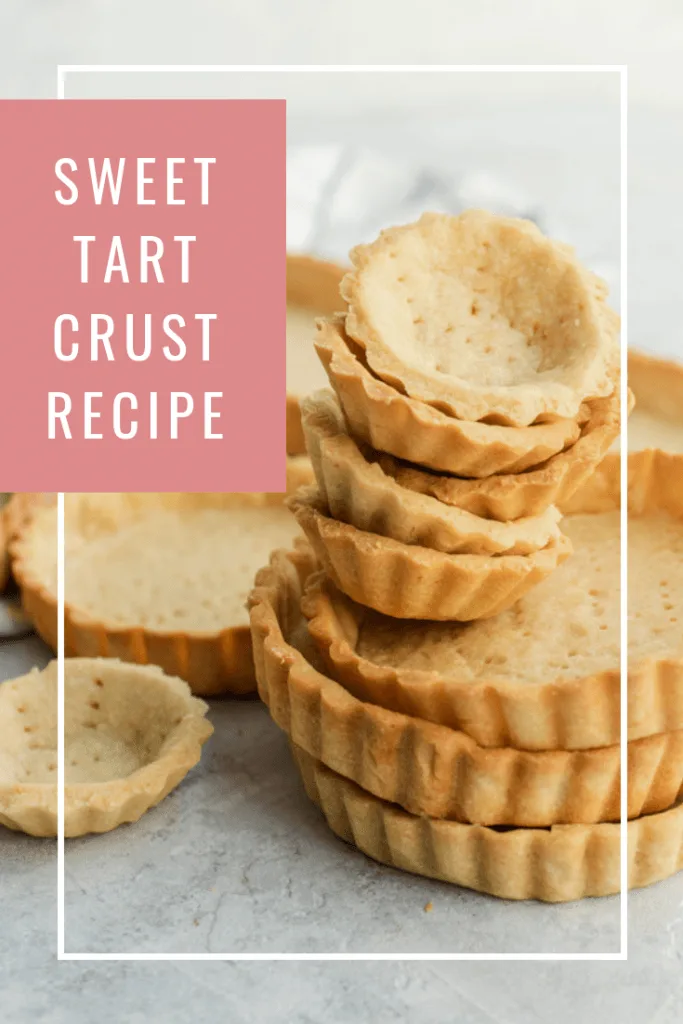
This basic tart crust recipe (pâte sucrée) is lightly sweet with a short, melt-in-your-mouth texture, but is sturdy and easy to work with. It’s the perfect pastry recipe for any tart recipe you wish to create.

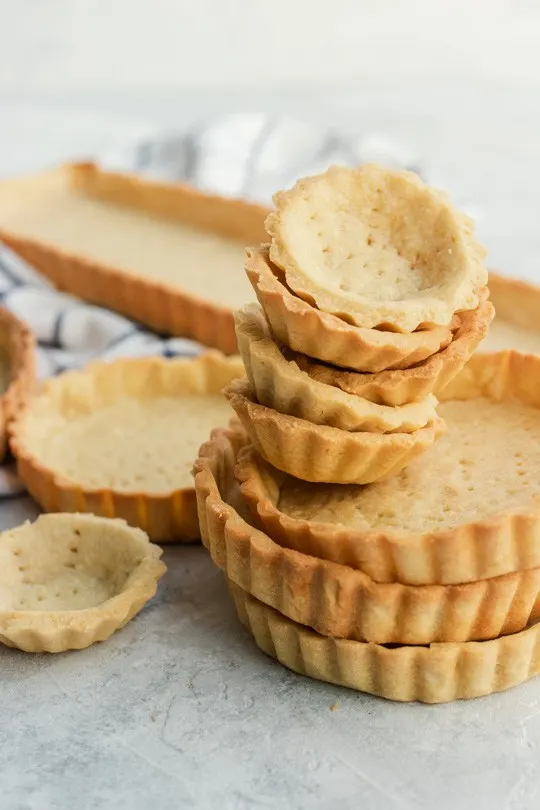
In the world of pastry, tarts are basically the slightly more elegant, incredibly versatile cousin to pies. The premise is the same–a pastry crust filled with custard, chocolate, or fruit, then served by the slice. But if you’ve ever walked into a French pâtisserie, you know the magic of perfect tarts, large and small, lining the pastry case with their varieties of fillings and sizes. They are a beautiful art form, with endless creative possibilities.
Personally, I find tarts to be not only more elegant than pies, but also easier to create and master. There are also a lot more options when it comes to a tart shell. For a savory tart or quiche, you would want to use a pâte brisée, which is essentially the French equivalent of American bakers’ classic pie crust. But if you’re making a dessert tart recipe, be it a custard, fruit, or chocolate, it’s better to opt for something a little sweeter, with a rich, crumbly texture. Something like this Sweet Tart Crust, which in France would be called a pâte sucrée. There’s also a pâte sablé, with a more delicate crumb, but it can be trickier to work with, which makes this particular sweet crust the most versatile, enjoyable tart to create.

Tips for a Perfect Tart Shell
- You want to be pretty deft with the pastry dough to avoid as much gluten development as possible. The less you work the gluten, the more delicate and less tough your crust will be.
- When rolling out the crust, always push the pin away from you and lift between strokes, rather than rolling it back and forth. This will give you a more even thickness. You’ll need to turn the dough as you work, which also helps prevent it sticking to your work surface.
- The rest time after rolling and lining the tin is really important. It allows the gluten in the dough to relax, giving you less shrinkage and fewer cracks in the finished tart shell.
- You can make this tart dough ahead of time and freeze it for up to a month. Alternatively, you can blind bake the pastry shells as directed and freeze them for up to two weeks.
- If you pat the dough into a disc instead of a ball before chilling, it will be ready to roll and bake sooner.
- Take any leftover dough, roll it out, and cut into cookies. Bake for about 10 minutes at 350F (bake times will vary based on how thick and large you cut them). The cookies are called sables and can be eaten plain, dipped in chocolate, or sandwiched with ganache, jam, or buttercream.
How to Blind Bake a Tart Crust
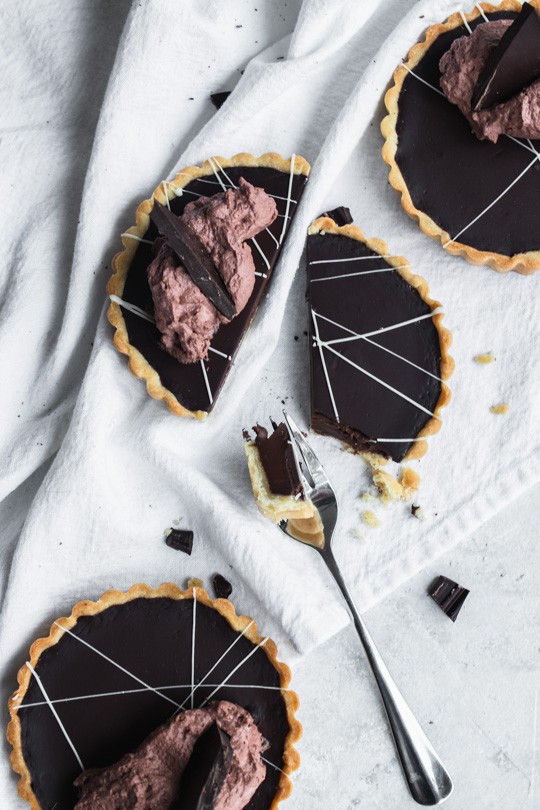
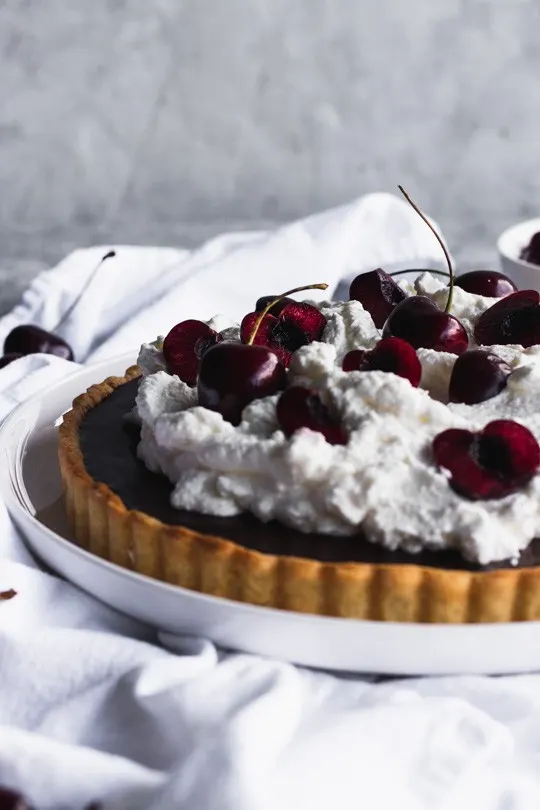
Blind baking is simply prebaking your crust to fill with a premade filling. This step prevents the edges from collapsing or shrinking as it bakes. You may need to bake it partially for some tart recipes, like this Simple Baked Chocolate Tart, or bake it completely for others like this Triple Chocolate Mousse Tart.
The step for blind baking are:
- Roll out your pastry dough and lay it in the tin, lifting and pressing it gently but firmly into the edges and corners.
- Prick the dough every few inches with a fork to allow steam and hot air to escape. This step is called docking.
- If your dough is not cold at this point, return it to the refrigerator for about 15 minutes to chill.
- Place a piece of parchment paper, large enough to cover all of the dough, inside and fill with baking beans, uncooked rice or beans, or sugar to add weight and hold the crust in place as it bakes.
- Bake the lined and filled tart shell for 10 minutes, then remove the parchment paper and weight and continue cooking until ready according to your recipe.
- Allow to cool, then fill and finish making your tart!

Tools and Tart Pans
You do need a few special kitchen items for making a tart–you may or may not already have them on hand.
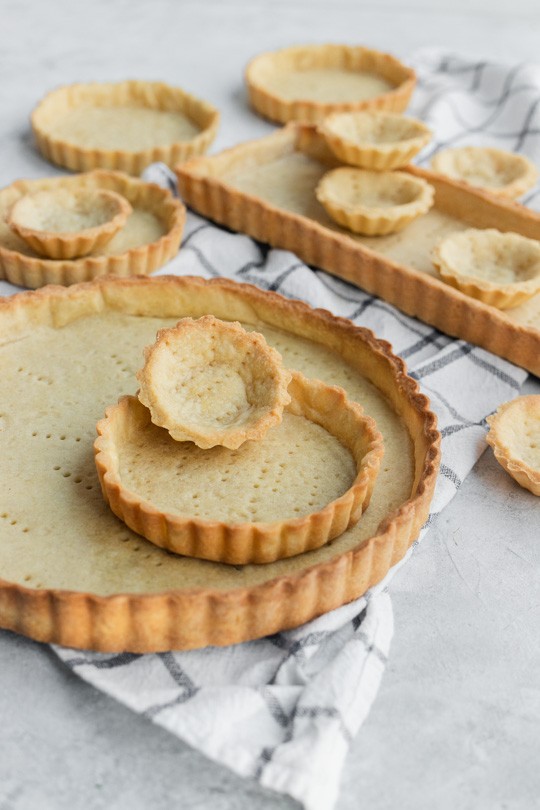
- Tart Pan(s): My most frequently used pan is my 9″ round. However, you can also use a rectangle, small tarts, tartlettes, or even a square! It’s entirely up to you. However, I do recommend using a pan with a removable bottom to help you remove the tart from the pan and serve it without breaking it.
- A Rolling Pin: Chances are, you’ve got one of these. But if not, you’ll need one to roll out your crust, and you’ve got options! There’s a french style rolling pin, cylinders, or a traditional handled rolling pin. This is the one I use, and it’s pretty high on my things-to-grab-if-there’s-a-fire list. I kid, but I really do love a good French rolling pin for it’s flexibility and strength. This variety with thickness rings will help you make sure that your crust is rolled to an even thickness, which can definitely be helpful. And you might find that you just prefer a good old American style rolling pin with handles. You’ve probably seen your grandmother use one, and far be it from me to say that Grandma was wrong.
- Baking Weights: Baking beans are definitely a “fluff” item. I don’t own these and just use something like rice or sugar to weigh the crust down for its blind bake, but these will definitely do a great job for you too!
Other Tart Recipes You May Enjoy:


This post contains affiliate links, which means that if you purchase from any links in the post Good Things Baking Co. will receive a small commission at no added cost to you. Thank you for being here, and helping support good recipe to make and eat!


Sweet Tart Crust Recipe
- Total Time: 3.5 hours
- Yield: 1 9″ round tart crust, or 6 4″ tart crusts 1x
Description
This basic tart crust recipe (pâte sucrée) is lightly sweet with a short, melt in your mouth texture, but it’s also sturdy and easy to work with. It’s the perfect pastry recipe for any dessert tart recipe you wish to create.
Ingredients
- 2 cups (240 g) all-purpose flour
- 1/2 cup (63 g) powdered sugar
- 1/4 tsp. salt
- 10 Tbsp. (143 g) butter, cool but not completely hard
- 1 large egg yolk
- 3 Tbsp. heavy whipping cream
- 1 tsp. vanilla extract
Instructions
Fit your stand mixer with the paddle attachment. In the mixer bowl, combine the flour, powdered sugar, and salt. Stir on low to combine. Cut the butter into small chunks, and add them to the flour mixture one at a time while the mixer is running. Continue to mix until it is all worked into the dry ingredients, and the mix looks like slightly clumpy sand.
Add in the raw egg yolk, cream, and vanilla extract. Stir until a dough is beginning to form. The dry ingredients should be completely absorbed, but you want to stop mixing while the dough is still in several smaller clumps and hasn’t come together into one large ball.
Remove it from the bowl to a sheet of plastic wrap and press it together gently to form a ball, then wrap it with the wrap and press it into a disc. Refrigerate for at least 2 hours before rolling and baking. It can be kept in the refrigerator for up to three days.
To Bake the Tart Crust: Remove the dough from the refrigerator and, on a lightly floured surface, roll it into a round 1/4″ thick. Carefully lift the dough into your tart pan and press it into the edges and sides of the pan. Allow any extra dough to hang over the sides, and either run your rolling pin over the edges to remove it, or cut it off with a sharp knife. If any cracks are visible, press a bit of the excess dough into it with your fingers to fill it in. Put the crust back in the fridge for another hour.
Preheat the oven to 375F. Poke the crust 10-15 times with a fork, then line the crust with a sheet of parchment paper and fill it with baking weights, dry beans, sugar, or rice. Bake for 10 minutes, then remove it from the oven and lift the parchment paper with the weights from it. Return the crust to the oven and bake for another 5-8 minutes, or until the bottom crust is no longer shiny. The edges should be golden brown. Remove it from the oven and cool completely before filling. The crust can be frozen for up to two weeks if wrapped well.
Notes
- The rest time after rolling and lining the tin is really important. It allows the gluten in the dough to relax, giving you less shrinkage and fewer cracks.
- You want to be pretty deft with the dough to avoid as much gluten development as possible. The less gluten gets worked, the more delicate and less tough your crust will be.
- This recipe can be made ahead and the dough frozen for up to a month. Alternatively, you can blind bake the crusts as directed and freeze them for up to two weeks.
- If you pat the dough into a disc instead of a ball before chilling, it will be ready to bake sooner.
- Take any leftover dough, roll it out, and cut into cookies. Bake for about 10 minutes at 350F (bake times will vary based on how thick and large you cut them). They can be eaten plain, dipped in chocolate, or sandwiched with ganache, jam, or buttercream.
- Prep Time: 15 minutes || 3-24 hours resting time
- Cook Time: 15-18 minutes
- Category: pastry
- Method: Baking
- Cuisine: Dessert

Classic Raspberry Almond Tart - Good Things Baking Co
Monday 19th of August 2024
[…] tart is made up of a sweet crust, almond cream (also called frangipane) filling, then topped with fresh raspberries. The final step […]
Peach Almond Tart - Good Things Baking Co
Thursday 15th of August 2024
[…] first layer is a lightly sweet tart crust. I love this recipe that’s simple, straight-forward, and gives great results every time. Next is the frangipane, […]
Blueberry Curd - Good Things Baking Co
Saturday 2nd of September 2023
[…] can use it in so many ways. Fill a tart, or top a scone. Or you could always top a pavlova or mini pavlovas, like in this raspberry curd […]
Passion Fruit Pastry Cream - Good Things Baking Co
Monday 12th of June 2023
[…] Fruit Tart — Make a 9″ tart crust (here’s my favorite recipe for that), or four 4″ tart crusts. Fill them with the passion fruit pastry cream, then let it set in […]
Almond and Fresh Fruit Tart - Good Things Baking Co
Wednesday 12th of May 2021
[…] this fresh fruit tart, you’ll need to parbake a sweet pastry crust. I recommend my Sweet Tart Crust recipe for a delicate, melt-in-your-mouth pastry shell and have included it in the recipe card […]