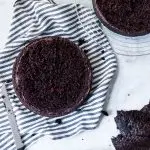
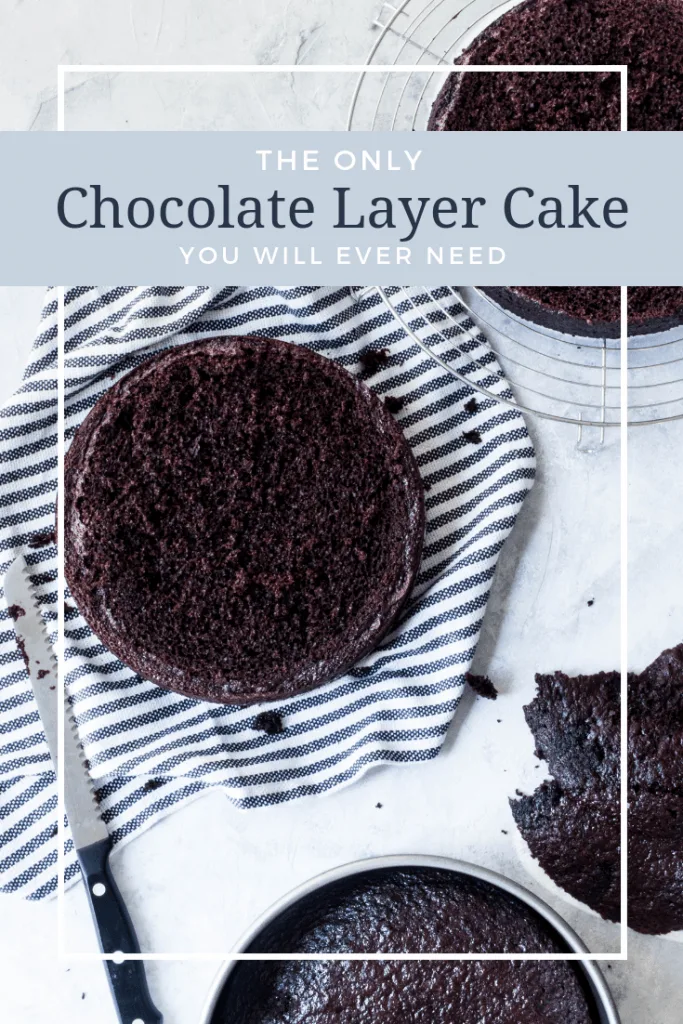
This chocolate cake recipe is tender and moist, but still sturdy enough to create beautiful layers or decadent cupcakes. A one bowl recipe, it’s also incredibly easy to make!
Do you have those recipes you go back to over and over again instinctively? In a pinch, you know you can pull that recipe out of your hat and it’ll be perfect and reliable and just what you needed. It’s kind of like the perfect little black dress, you know?

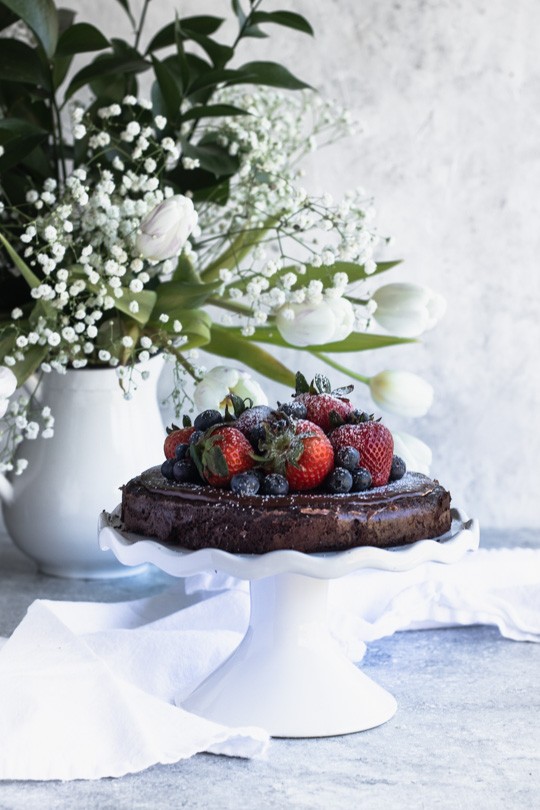
I feel like this chocolate layer cake is really the LBD of the cake world—versatile and perfect for any occasion and accessory. A simple layer of buttercream (+sprinkles, of course) will give you a comfortable, homey dessert. Stacking up layers with filling in between and decorating them will give you something stunning for a dressier offering. Anything in between, and you’re still getting cake gold.
Not only is it rich and dark and chocolatey, the crumb is delicate and moist, while still being sturdy enough to be layered. It’s good. I mean really, really good. Micah, who’s definitely in the take it or leave it camp with cake, enjoys this one. He snitches little bits of the top bump that I level off when he walks by, and lets me know that this one is a-ok. And of course, my boys, with very refined palates from 4 and 1 years worth of experience, absolutely love it. Though I think they may actually be more excited about the frosting. Kids these days, I tell ya.
And it’s so. stinkin’. easy. I mean, one bowl. One spatula. A sifter for the dry ingredients and BAM, you’re in business.
You’ve even got options, since I’ve halved and multiplied the recipe for you to make the number of layers you need in either 6 or 8 inches. It can also be cupcakes, because we all need more of those in our lives, especially pile high with fudge frosting and sprinkles. Me these days, I tell ya.

How to Make Chocolate Layer Cakes
- First, prep everything. Measure ingredients out, preheat the oven, and grease and flour the cake pans. You can make either 6″ cakes or 8″ cakes, you can choose whichever size you like.
- Blend all of the well ingredients well, then sift in the dry ingredients. Make sure the dry ingredients are mixed in well, but don’t over mix. If you do, the gluten will begin to develop and the cakes will lose their delicate texture.
- If you need to bake more layers than you have pans, the batter can sit while the first layers bake. Then, wipe the pans out, grease and flour them again, then refill them and bake again.
What kind of Cocoa Powder Should I use in Chocolate Cake?
I recommend using a natural cocoa, whether regular or dark. Though to be honest, you’ll get a much deeper chocolate flavor with dark.
And what about Dutch Process cocoa powder? It’s got great flavor, but because it has a lower acidity level that interacts with the baking soda differently, I recommend sticking with natural process cocoa powder. This recipe was developed with natural cocoa, so subbing Dutch will give you a different outcome. The upside is that it’s a lot easier to find regular cocoa powder on your grocery store shelves!

What Ingredients Make a Cake Moist?
So many elements go into the science of cake! Ingredients like oil, eggs, and milk are what give you an edge for a moist, tender cake. Not only do they enhance the flavor, but they slow downt the development of gluten, which would make your cake tough and chewy. That’s why I opted for using milk as a liquid, rather than coffee or water. If you’d like to sub some of the milk for coffee (it’ll give a stronger chocolate flavor, and not make your cakes taste like mocha), you absolutely can! For every cup of milk, sub 1/4 cup coffee & 3/4 cup milk.
Can I Freeze Cake Layers?
Yes! If you want to make cake layers ahead of time and freeze them, you absolutely can. This can save a lot of time when you need to assemble and serve your cakes, since baking and especially cooling the cakes can take a lot of time. Here’s how to freeze the cakes:
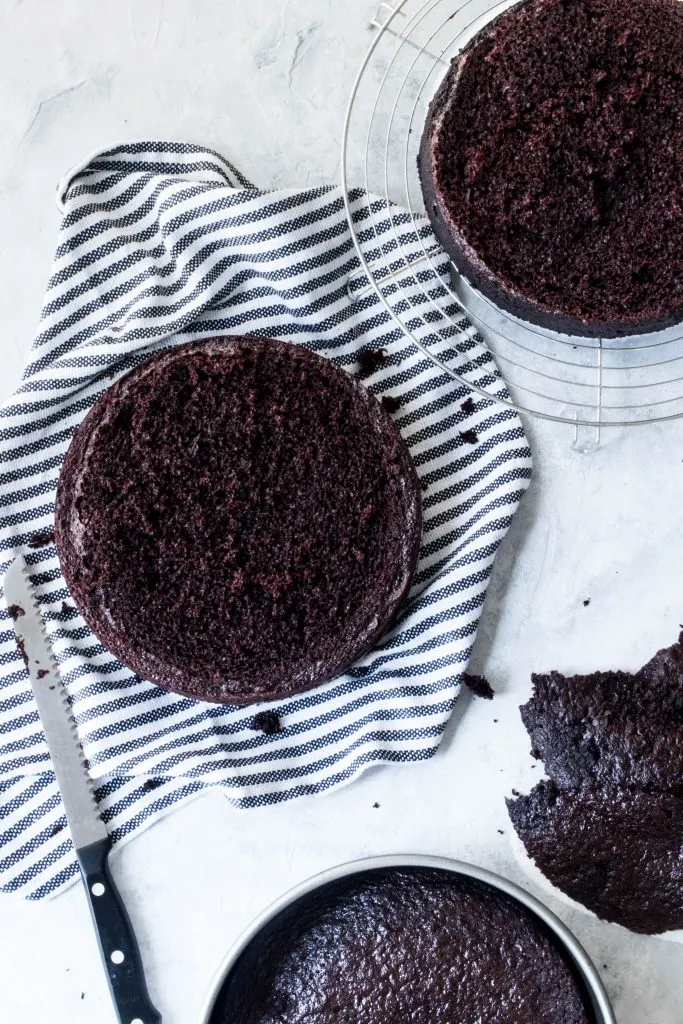
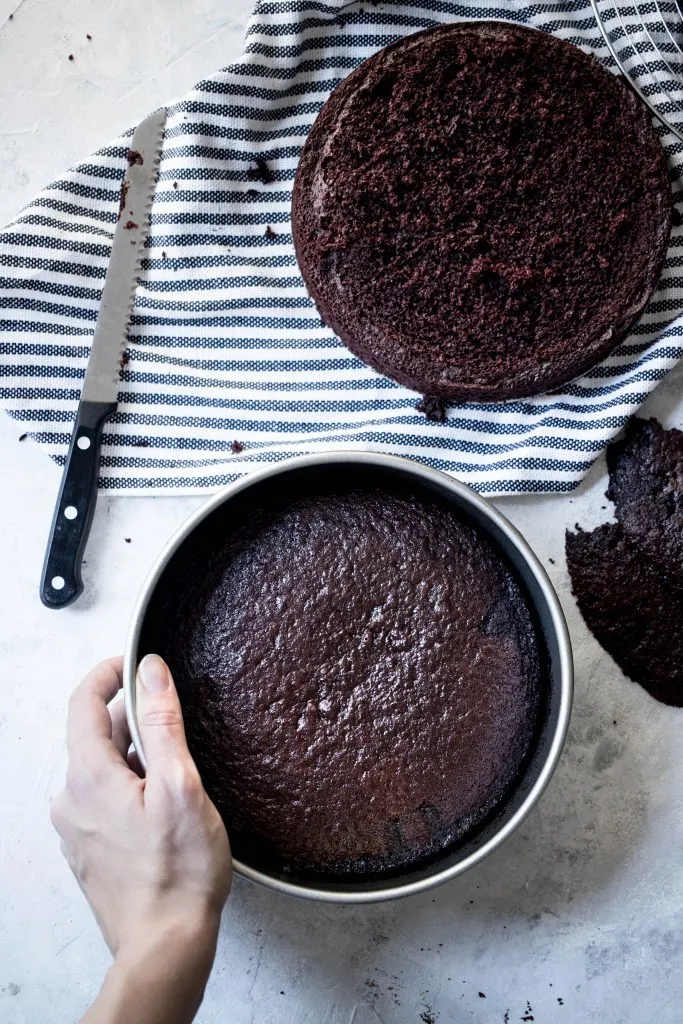
- Bake the cake layers and let them cool completely. Cut off the dome off the top if you wish to.
- Wrap each layer well in plastic wrap so that none of the cake is exposed.
- Stack up to two layers, then wrap them in foil. You can also wrap them individually.
- Place flat on a freezer shelf and allow the cakes to freeze completely.
- They will keep in the freezer for up to two weeks. To thaw the cakes, set on the counter at room temperature. They should be thawed completely within two hours.
- You can also work with the cake layers while they’re still slightly frozen–I actually prefer this method! Allow them to thaw until they are not hard, but still firm enough to handle easily. Fill and crumb coat the layers. Do not add the final coat of icing, decorations, or fondant until the cake is completely thawed.


This post contains affiliate links, which means that if you purchase from any links in the post Good Things Baking Co. will receive a small commission at no added cost to you. Thank you for being here, and helping support good recipe to make and eat!
Print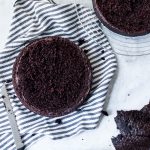
Chocolate Layer Cake Recipe
- Total Time: 45 minutes
- Yield: 1–3 8″ cake layers 1x
Description
This chocolate cake recipe is tender and moist, but still sturdy enough to create beautiful layers or decadent cupcakes. A one bowl recipe, it’s also incredibly easy to make!
Ingredients
For 1 8″ or 2 6″ cakes:
- 3/4 cup (90 g) all-purpose flour
- 3/4 cup (150 g) white sugar
- 1/4 cup (20g) dark cocoa powder
- 3/4 tsp. (3 g) baking powder
- 1/2 tsp. (3 g) baking soda
- 1/2 tsp. (5 g) salt
- 1/2 Tbsp. (4 g) cornstarch
- 1/2 cup whole milk
- 3 Tbsp. vegetable oil
- 1 egg
- 1 tsp. vanilla extract
For 2 8″ or 4 6″ cakes:
- 1 1/2 cups (180 g) all-purpose flour
- 1 1/2 cups (300 g) white sugar
- 1/2 cup (40g) dark cocoa powder
- 1 1/2 tsp. (6 g) baking powder
- 1 tsp. (6 g) baking soda
- 1 tsp. (9 g) salt
- 1 Tbsp. (8 g) cornstarch
- 1 cup whole milk
- 6 Tbsp. vegetable oil
- 2 egg
- 2 tsp. vanilla extract
For 3 8″ cakes:
- 2 1/4 cup (270 g) all-purpose flour
- 2 1/4 cups (450 g) white sugar
- 3/4 cup (60g) dark cocoa powder
- 1 1/4 tsp. (9 g) baking powder
- 1 1/2 tsp. (9 g) baking soda
- 1 1/2 tsp. (14 g) salt
- 1 1/2 Tbsp. (12 g) cornstarch
- 1 1/2 cups whole milk
- 1/2 cup + 1 Tbsp. vegetable oil
- 3 eggs
- 1 Tbsp. vanilla extract
Instructions
Preheat your oven to 350 degrees f, then grease two 8” cake tins and sprinkle them with cocoa powder.
In the bowl of a stand mixer, combine all of the wet ingredients together and mix on low until well combine. Sift in the dry ingredients, then stir on medium low for about 2 minutes, scraping the sides and bottom of the bowl with a spatula to make sure that all of the ingredients are being mixed together.
Divide the cake batter between the two cake pans and bake for 28-30 minutes, or until the top of the cake springs back when you tap it very gently. Alternately, you can insert a toothpick and make sure it comes out clean or with only one or two crumbs on it.
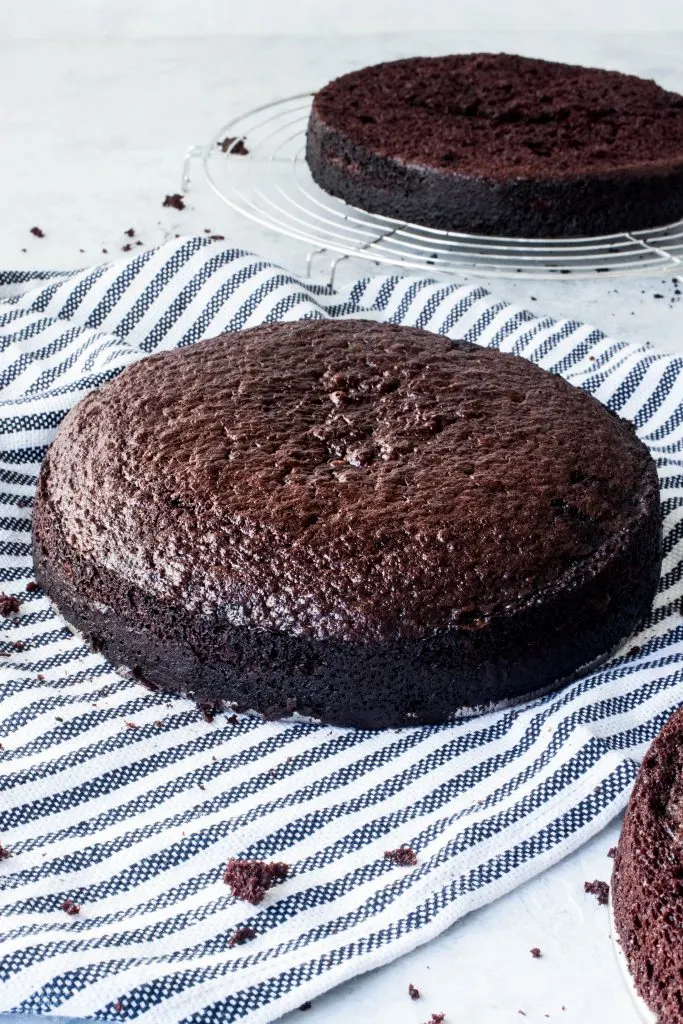
Remove the baked cakes from the oven and allow them to sit in the pans for 5-10 minutes before turning them out onto cooling racks. Allow them to cool completely before leveling or decorating.
Notes
-
To ensure that your cake will come out without leaving any chunks behind in the pan, I recommend spraying it well with baking spray, then sprinkling with cocoa powder. Tap and turn the pan around to spread the cocoa powder and cover all of the surface.
-
Using cocoa powder rather than flour to dust the pan helps keep the cake crust looking dark and chocolatey. Flour works also, but it may leave a lighter “film” around the edges of the cakes.
-
This cake gets a really, really good rise. So don’t be worried if the batter seems too shallow in the pan—it’ll puff up into cake layers at least an inch thick
-
Let the cake cool completely before handling and leveling it. It is fairly delicate when warm, and you don’t want it falling apart on you.
-
These cake layers will freeze like a dream! Wrap each one well in plastic wrap and freeze for up to two week.
- Prep Time: 15 minutes
- Cook Time: 30 minutes
- Category: cakes
- Method: Baking
- Cuisine: Baked Goods

Callista
Monday 26th of August 2019
Do you have conversations for six 4 inch rounds?
Rebecca Neidhart
Monday 26th of August 2019
Hey Callista! I'm not sure what you mean by conversation--could you clarify? If you're looking for a conversion, the second set of ingredient amounts and weights makes 4 6" cakes--just keep scrolling down until you see the section labeled "For 2 8″ or 4 6″ cakes." Hope that helps!
Nilda
Sunday 11th of August 2019
Could I use buttermilk instead of regular milk?
Rebecca Neidhart
Tuesday 13th of August 2019
Hey Nilda! You absolutely can use buttermilk--some recipes actually use that instead.
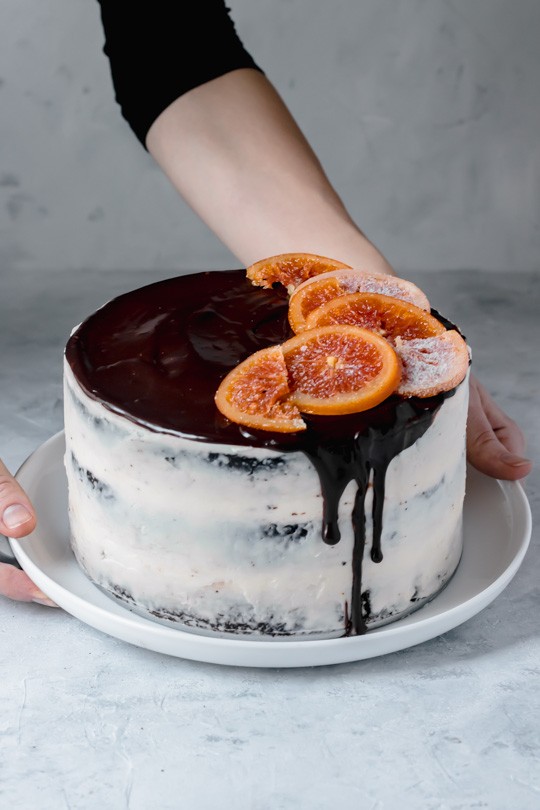
Chocolate Orange Layer Cake - Good Things Baking Co
Wednesday 20th of February 2019
[…] know, the recipe you’re here for. This Chocolate Orange Layer Cake is made from my one-bowl chocolate layer cake, and you’ll need three of them. The filling is orange curd, and it’s all topped off with […]