These are the best sourdough English muffins, with a tender crumb that’s perfect for toasting and catching lots of melted butter. It also has deep, slightly sour flavor from it’s natural yeast and a couple of rises and fermentation periods.
It may be weird, but one of my strongest cravings this pregnancy has been english muffins. I think it’s the nooks and crannies that soak up extra butter, or the fact that they’re the perfect blank slate for piling on the jam or pouring on the honey. No matter the why, the fact is that I’ve bought an embarrassing number of them. And I am more than ready to have a fresher, more wholesome version.
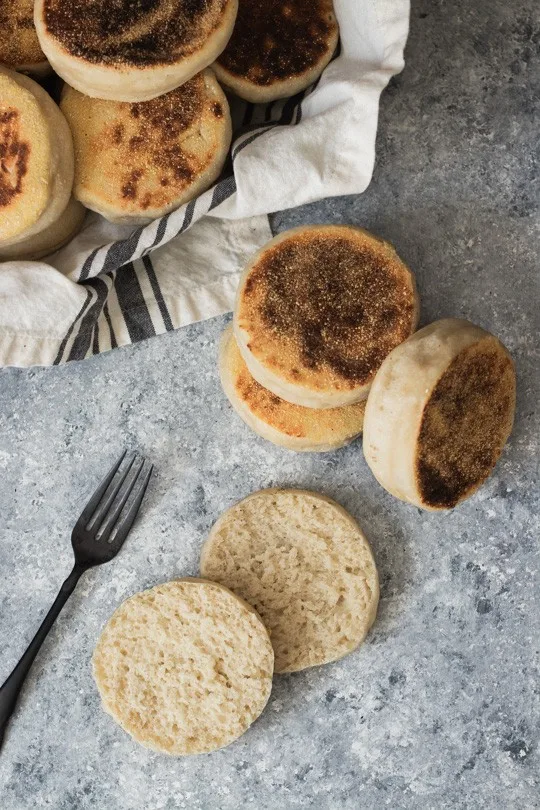
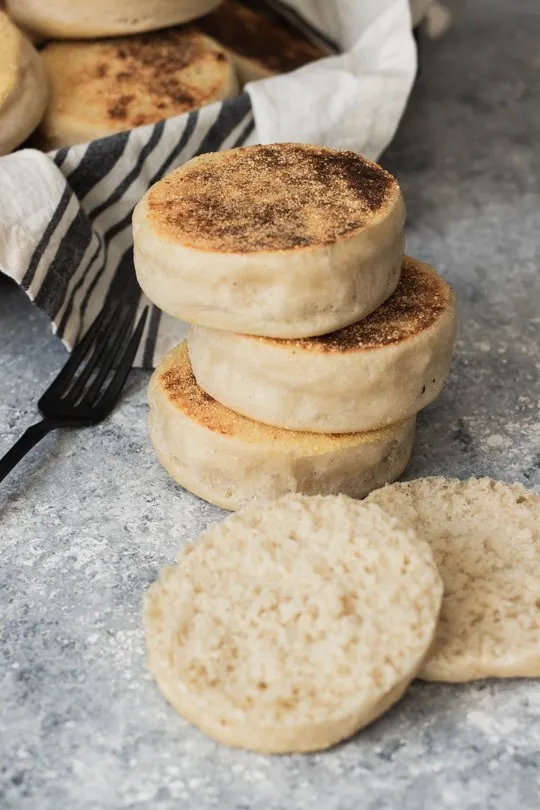
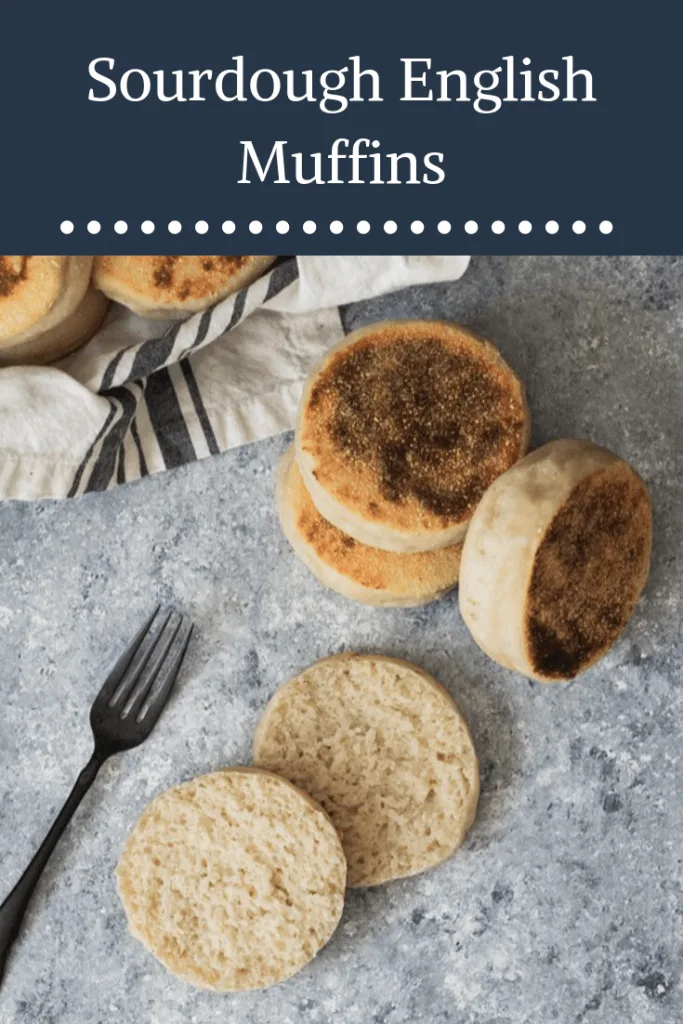
Enter this Sourdough English Muffin recipe. They’re truly the best, with the craggy, butter loving crumb, and a flavor that absolutely blows away the comparatively flat, pale version you’ve bought at your market. You probably know that english muffins have to be toasted to be enjoyable, and this sourdough version no exception. And poke around the entire edge with a fork rather than slicing them with a knife. That will only destroy the internal crumb struct, and give a much less craggy crumb.
You can absolutely make these from start to finish in one day. However, I prefer to let the dough sit in the fridge overnight after the first rise. The flavor is better, and you can have freshly cooked English muffins for breakfast the next day. Can you think of anything better?
Notes on the Sourdough Starter
If you’ve been baking with sourdough for a while, you probably know that each starter and kitchen is unique, and much of the feeding and rise timing is a matter of experience and instinct. I have included average rise times, but these are what worked in my kitchen, with my starter. Use them as a general guidelines rather than hard and fast rules. If you feel like yourugh-en dough has finished it’s rise before my recommended time is up, by all means move on to the next step. Or, if your dough seems a little bit under-risen, don’t be afraid to allow another 30 minutes to an hour to get the rise you want.
For the best results, you want to use your starter when it’s most active, or right after. That means you want to see lots of air bubbles in and on top of the starter, and it should have grown in volume–this usually happens 6-10 hours after you’ve fed it. Timing this bit can be tricky. If your starter seems sluggish after feeding, pop it in the (not heated) oven with the light on. The insulated space keeps cooling drafts away, and the light keeps the starter at just the right temperature. You should have warm, happy yeast much faster and predictably.
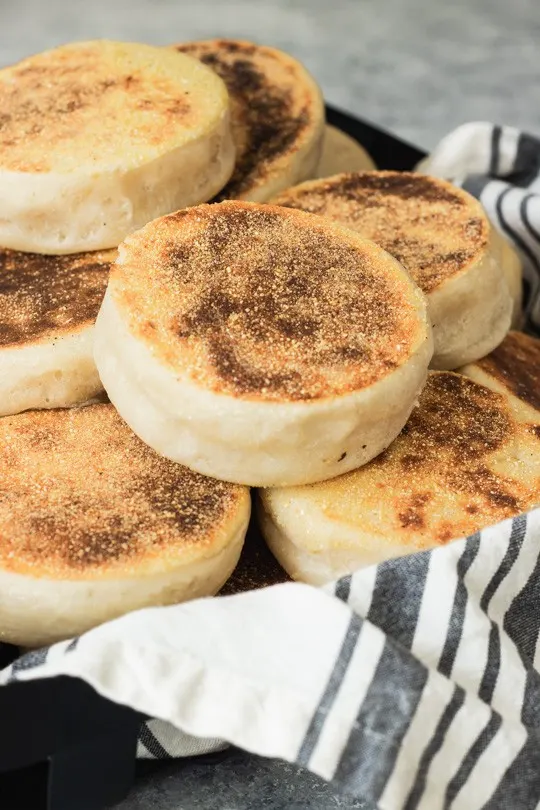
Also, I keep my starter at 100% hydration, meaning that I feed it with equal amounts of water and flour by weight. If you keep yours at a lower hydration, you may want to use your discard to create a separate starter and feed it for a day or two. Or, add a bit more milk to the dough to make it soft and pliable, with no stiffness. A dry dough will give you tough, dense english muffins.
Can I make these sourdough English muffins without a starter?
Unfortunately, no. Some “sourdough” recipes give you the option of mixing flour and water and letting it sit for a few days until there are bubbles in the mix and it has a sour smell and flavor. However, this recipe doesn’t have any commercial yeast, so a healthy sourdough starter is how the dough gets it’s rise. If you would like to get your own starter going, this YouTube series by Baker Bettie is a great place to start! Just make sure to come back for this sourdough English muffin recipe once you’ve gotten your starter going.
How do I Make Sourdough English Muffins?
- You’ll need simple, standard ingredients for these English muffins–the most unique one is the starter. Flour, milk, butter, honey, and salt makes up the rest of the ingredient list. I’m guessing you’ve probably got those in your cupboard. Also, you’ll need cornmeal for baking them on the griddle.Most sourdough English muffins call for starter as well as commercial yeast. This one doesn’t have any commercial yeast added, which means that a healthy, bubbly starter is the best starting place for a great finished product.
- I’ve included both weight and volume measurements for convenience. But if you know me at all you know that I always recommend baking by weight. It may seem more tedious at first, but once you’re accustomed to it you save time and dishes with a more accurate, perfect finished product.
- I like to make my dough by hand using a sturdy wooden spoon and a bowl scraper (like this one). However, if you prefer to use the stand mixer, go for it!
- While you can complete this recipe in one day, you can also split up the process. After the initial 3 hour rise, cover your dough bowl with plastic wrap and refrigerate for up to 24 hours before rolling and cutting, the final rise, and cooking. In fact, allowing the dough extra time to sit will give you a more flavorful english muffin
- If you are going to refrigerate the dough overnight, you can roll it out straight from the fridge. However, your final rise may be slightly longer as the dough will need to rise in temperature to allow the yeast to become active again.
- You really don’t need English muffin rings. In fact, I used a wide-mouthed jar lid to cut them after rolling, and then let them rise free form on a parchment-lined baking sheet. You may get straighter edges with rings, but don’t let not having them make you shy away from making these.
- To freeze your English muffins, store them in an air-tight container or bag after they have cooled completely. Pull them out and microwave for 15-20 seconds to thaw before splitting and toasting.
Can I Make These With Whole Wheat Flour?
Full disclosure: I haven’t tried. However, if you would like to try, start by replacing a small amount ( maybe ¾-1 cup) of the all purpose flour with whole wheat. Also, try to find white whole wheat flour. It’s made from a lighter wheat berry than traditional whole wheat, and will result in a softer finished product.
How to Griddle Cook English Muffins
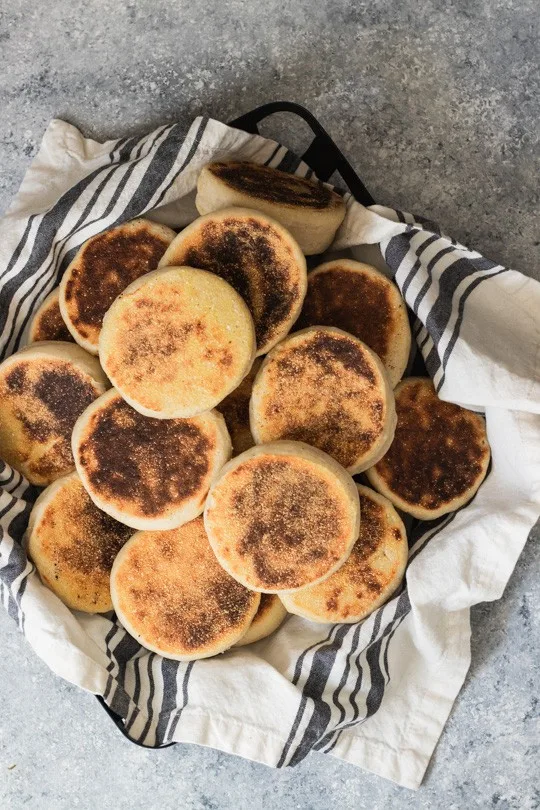
English muffins are cooked on a griddle rather than being baked in the oven. Weird, right? But it gives them the classic texture and finish. The flat sides are toasted and slightly crisp, while the center stays soft and fluffy.
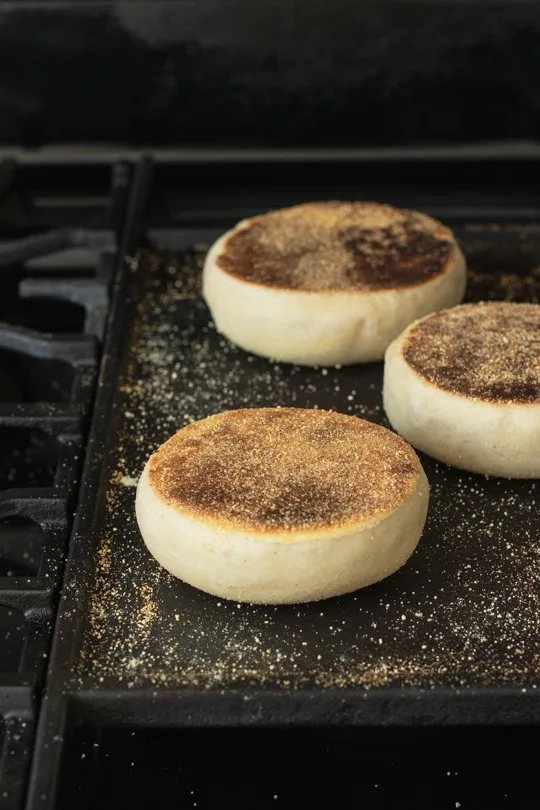
Here are a few tips for success with grilling your english muffins:
- You can use any flat bottomed, large surface griddle, but I highly recommend using cast iron. It holds and distributes heat evenly and will give you the best finish.
- Most griddles and burners will have a hot spot or two. Keep an eye on the first batch or two you cook to figure out where they are and prevent burning.
- Flour will scorch and absorb too quickly during cooking, so you’ll need to use cornmeal or semolina flour for rolling and baking to prevent the dough from sticking.
- Make sure that your griddle isn’t too hot. If it’s over heated, you’ll have a doughy center when the outsides of the english muffins are finished.
- Use an internal thermometer (like this one) to insure that the centers have cooked. Slide the probe in the soft side of the english muffin. It will read at least 180F when the dough is cooked through.
- If you’re having trouble getting the centers cooked before the outsides have burned, you can transfer them to a baking sheet and bake them in an oven preheated to 350F for an extra 5-10 minutes.
- Once they’re finished, I like to wrap them up in a clean kitchen towel. This helps them finish cooking all the way through, and slightly softens the crispiness of the edges.
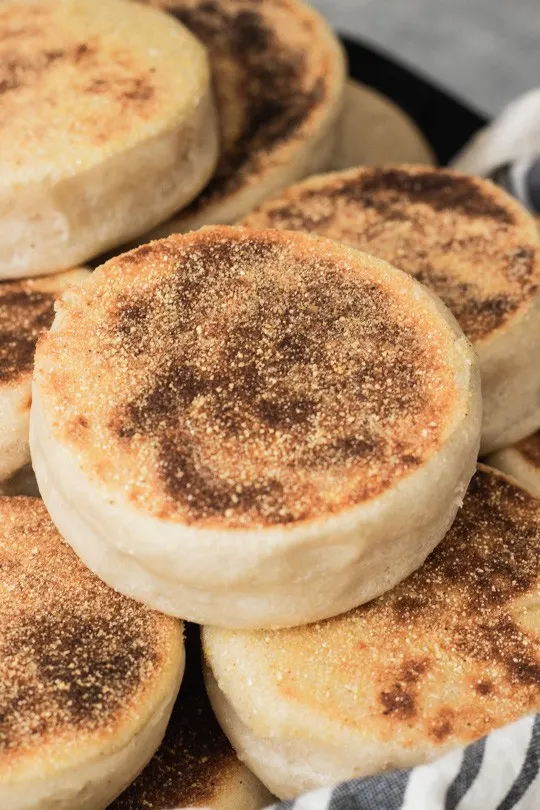

Sourdough English Muffins
- Total Time: 2 hours active, 7 hours total
- Yield: 10–12 English Muffins 1x
Description
These are the best sourdough English muffins, with a tender crumb that’s perfect for toasting and catching lots of melted butter. It also has deep, slightly sour flavor from it’s natural yeast and a couple of rises and fermentation periods.
Ingredients
-
2 ½ cups (300 g) all-purpose flour
-
1 ¾ cup (14 fl. oz) warm whole milk
-
1 cup (227 g/8 fl. oz.) ripe sourdough starter
-
2 Tbsp. (43 g) honey
-
2 ½ cups (300 g) bread flour
-
¼ cup (57 g) butter, very soft
-
1 ½ tsp. (9 g) salt
-
Cornmeal or semolina flour for dusting
Instructions
In a large mixing bowl or the bowl of a stand mixer, thoroughly stir together the all purpose flour, milk, starter, honey, and butter. Cover the bowl with a clean cloth and allow it to sit for 30 minutes to an hour to create a sponge.
Add the bread flour and salt and stir until completely combined. If using a stand mixer, use the dough hook. If mixing by hand, use a sturdy large spoon or a bowl scraper to stir. Work the dough until it is completely combined, then knead it for 5-8 minutes (with the mixer) or 8-10 minutes (by hand) to create a smooth, elastic dough. Grab a small bit off the edge of the ball and gently pull up on it. If the fibers tear quickly, keep kneading. However, if they stretch and pull smoothly, your dough is ready.
Form the dough into a smooth ball and place it in a clean bowl. Recover it with the cloth and allow it to sit at room temperature for 3-4 hours, or until it has puffed up and is soft to the touch. It doesn’t necessarily need to double in size, but should keep an indent when you press gently on it with your finger.
Cooking the English Muffins:
After the dough has risen, you can put it in the refrigerator overnight or roll and cook the muffins immediately. Sprinkle a clean surface with the cornmeal or semolina flour, and use a rolling pin to roll the dough out to a little over ½” thick. Use a biscuit cutter (or a wide mouth jar ring like me, because faaaannncy) to cut out rounds between 3”-4”. Set each one on a parchment lined baking sheet, cover with a clean kitchen towel, and allow them to rise for 1-2 hours, depending on the temperature of your kitchen and the starting temperature of the dough.
About 10-15 minutes before you are ready to cook, begin to heat your griddle on medium low. Allow it to heat slowly. You know it is ready when you wet your fingers, flick them at the griddle, and the water droplets dance and fizzle on the surface. Sprinkle with a light layer of cornmeal or semolina, the place as many of the risen muffins on the griddle as you can without allowing them to touch.
Cook for 7-9 minutes on each side, or until both sides are nicely toasted and crispy. Insert an internal thermometer into the soft sides to measure the internal temperature and make sure it’s done. It should read 180F when the centers are cooked through.
- Prep Time: 1 hour, divided + 4-5 hours rising time
- Cook Time: 30 minutes-1 hour
- Category: Breakfast
- Cuisine: English
If you’re looking for other sourdough inspiration, check out these recipes!
Sourdough Bagels
Sourdough Soft Pretzels

alan
Tuesday 22nd of July 2025
Thank you for this recipe. I'm going to try with half the ingredients since I have a small family.
Brian Rismiller
Friday 10th of January 2025
Great recipie! I used thick coat hangers and for thickness with roller pin and Blackstone egg rounds for cutter
Rebecca
Thursday 6th of March 2025
What a clever way to keep an even thickness! Thanks for sharing Brian.
Tiffany
Thursday 2nd of January 2025
Just started using sourdough starter and I overdid my feed. Made this recipe today and it was so fun and so easy to make! Mind make 23 because I don’t have a 3-4’ anything for cutting. But they’re perfect size !!! Thank you !
Amy
Wednesday 29th of May 2024
May 2024 I just made these. It was so satisfying and fun to make. Im hoping they taste as good as they look. They are cooling now. Amy
James
Sunday 31st of March 2024
I am in the process of trying out this recipe as I type this message. I just took my dough out of the fridge, rolled it and cut the shapes using a ramekin. My only glitch so far was that the dough had formed a bit of a crust whilst in the fridge overnight. Is this because I had just left it covered with a cloth?