This recipe for classic, homemade dill pickles is canned, so you can have perfect old-fashioned pickles all year long!
As an Amazon Associate, Good Things Baking Co. earns from qualifying purchases. Links on this page may be affiliate links.
Have you ever had homemade dill pickles? If not, you'll be surprised at how amazing they taste, as well as how quickly and easily they come together!

Refrigerator pickles definitely have their place, but there's nothing quite like canned dill pickles. Canned pickles will keep at room temperature for up to a year, and some sources actually say they're safe to eat indefinitely as long as the seal is intact. That means fresh, delicious pickles year-round, not to mention that feeling of accomplishment when you've made a traditional, vintage jar of pickles that would make your great-grandma proud.

Ingredients for Canned Dill Pickles:
All you'll need for canning dill pickles is:
- Fresh Pickling Cucumbers--the best pickling cucumbers are short with thick skins and firm flesh that will keep it's crisp snap when pickled. Longer, thin-skinned varieties of cucumbers can get a bit mushy and soft after being pickled. If you can't find this kind of pickles at your local supermarket, a local farmer's market (or your own garden!) may be a good source for pickling cucumbers.
- Vinegar--Plain old white vinegar is all you need for a pickling brine.
- Water--The brine is half white vinegar and half water.
- Pickling Salt-- Salt plays an important role in pickling, as it not only adds flavor but also helps prevent bacteria that cause food-related illness, including botulism. Becaus of it's importance, the only salt you should substitute for pickling salt is Kosher salt. It typically doesn't have any added caking agents or other added ingredients, but always check the label before using. Read this article for more information on the role of salt in pickling.
- Fresh Dill-- You can typically purchase this in the fresh produce department of your supermarket with the other fresh herbs. Do not substitute dill seed, as it's a completely different part of the dill plant and has a different flavor profile.
- Fresh Garlic--2-3 peeled cloves of garlic add a lovely flavor.
- Black Peppercorns--I add 10-15 to each jar of pickles.
- Dried Chili Flakes (Optional)-- Adding ½ to 1 tsp. of dried chili flakes will add a bit of spice to your pickles, but it's completely optional.

Equipment for this Canned Homemade Dill Pickle Recipe:
While you don't need any crazy equipment for canning dill pickles, there are a few things you may need to purchase if you're new to canning.
- Wide Mouth Canning Jars-- Because you have to pack the cucumbers and seasonings in the jar, you'll need it to be wide mouth. These 16 oz. jars are a great size and shape for pickles. You can also use quart jars, but they hold a lot of pickles (which can take a while to eat) and they take a lot more space in your refrigerator.
- New Wide Mouth Canning Seals--The seal is the flat part of the lid that you set on top of the jar of dill pickles If you've canned before you probably know this, but when canning your seals must be new. When you waterbath the jars (I'll explain that process in a minute), the seal forms an airtight ring that keeps your food shelf safe indefinitely. A seal that's already been used will likely allow air into the jar, allowing bad bacteria into the pickles.
- Wide Mouth Canning Rings-- Canning rings screw onto the jar and hold the seal in place during the waterbath. While the seals need to be new for canning, you can safely reuse the rings many times over.
- A Large Pot-- This needs to be deep enough to hold enough water to cover the tops of the jars. Any large stock pot you have will work.
- Sturdy Tongs or a Jar Lifter-- You'll need a jar lifter or very sturdy metal tongs to lift your jars in and out of the boiling waterbath.
- Funnel-- Not strictly necessary, but a funnel is handy for pouring the pickle brine over the cucumbers without making a mess.
How to Make This Canned Dill Pickle Recipe:
How to Make Pickle Brine
Pickle brine is a simple mixture of water, white vinegar, and pickling salt. You simply combine all the ingredients and bring them to a boil until the salt has dissolved.
Allow the brine to cool before pouring it into the jars of pickles. If you pour it in while it's hot, it will cook the pickles.

- Begin by sterilizing your jars and lids. Fill a large, deep pot, with water and bring it to a boil. Place the jars and lids in the water and boil them for one minute to sterilize, then remove and set them on a towel to cool.
- Prepare the ingredients. Wash the cucumbers well, then cut them into quarters if you wish. You can also leave them whole if you prefer. Cut the dill into sprigs. Peel 9 cloves of garlic, then cut them in half.
- Place a sprig of dill and 2-3 garlic cloves that have been chopped in half in the bottom of each jar. Add the red chili flakes if you're using them.
- Pack the pickles into the jar so that they're tight but not smashed.
- Sprinkle 10-15 whole peppercorns over the cucumbers.

- Pour the brine into each jar. The brine should cover the pickles, but leave at least ½" of space between the brine and the lip of the jar.
- Place a new, sanitized seal on the top of each jar. Screw a lid ring tightly onto each jar.
- Bring the stockpot of water back to a boil and remove enough water to make room for the jars.
- Place the jars of pickles in the boiling water. Water bath them for five minutes, then remove the jars from the boiling water and set them aside to cool.
- Allow the pickles to cool at room temperature. As they cool, the lids will suction to the jars--you'll hear a pop as each one seals.
- Once the canned dill pickles have cooled completely, check each jar to make sure it has sealed. To do this, press on the center of each jar. If there is any give, or if you hear any sound, the jar hasn't sealed properly. Any jars that didn't seal can be stored in the refrigerator and eaten.
- Label each jar of pickles with the contents and date. The jars of dill pickles are now ready to store.
Storing Canned Dill Pickles:
Store your canned dill pickles in a cool, dark place until you are ready to open the jar. After opening, store your dill pickles in the refrigerator.
Before opening a jar of pickles, gently press on the center of the lid. If it goes up and down at all, the seal on the jar has been broken at some point, and your pickles aren't safe to eat.

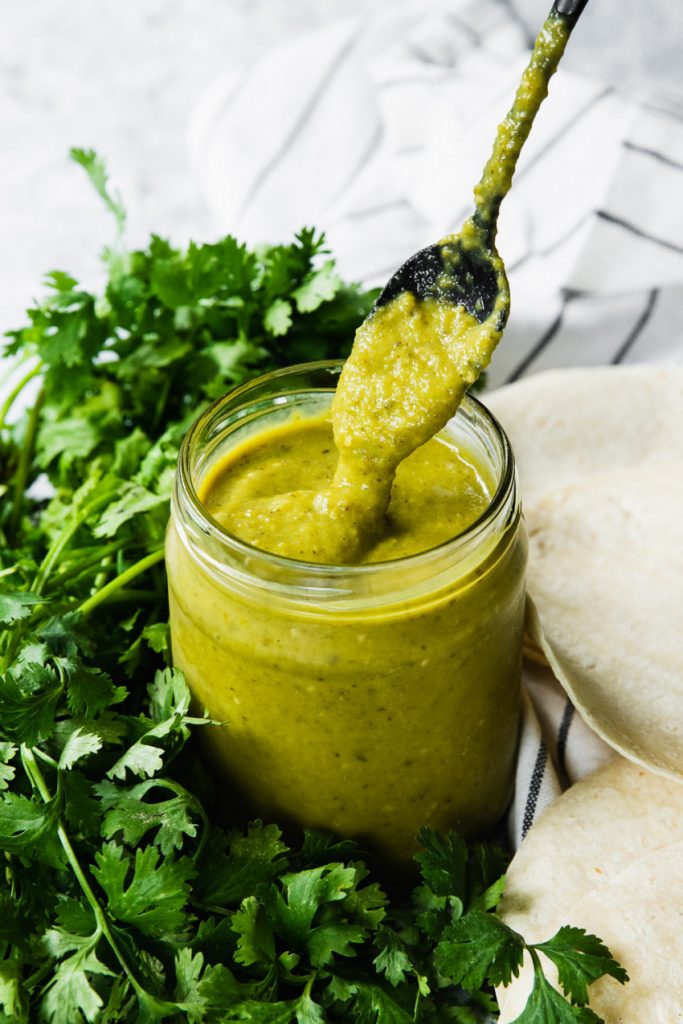
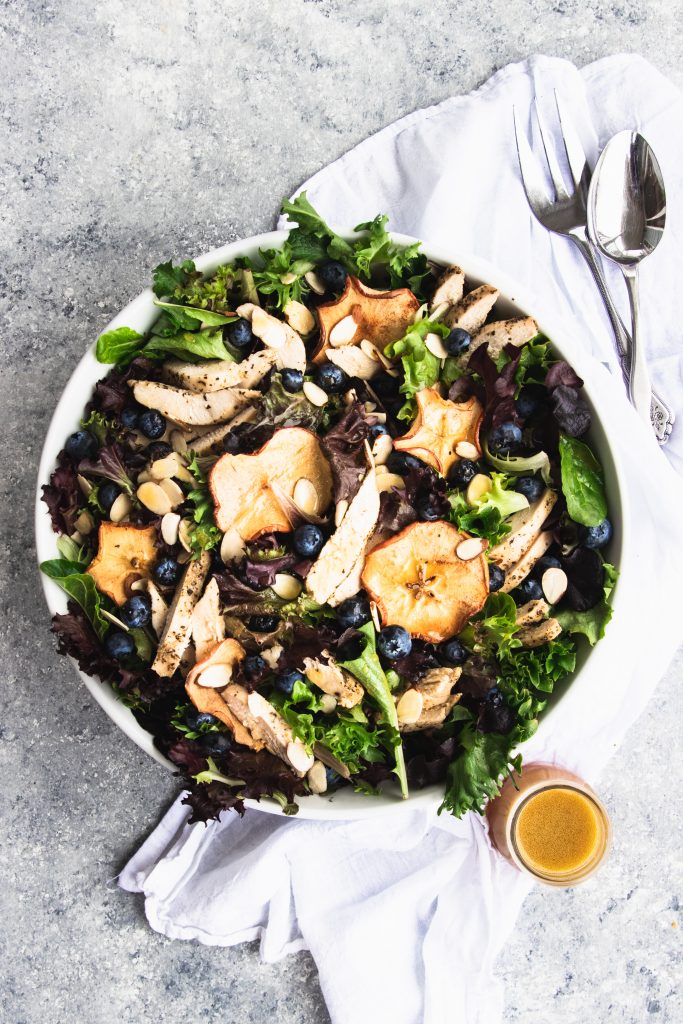
Other Recipes You May Enjoy:
Print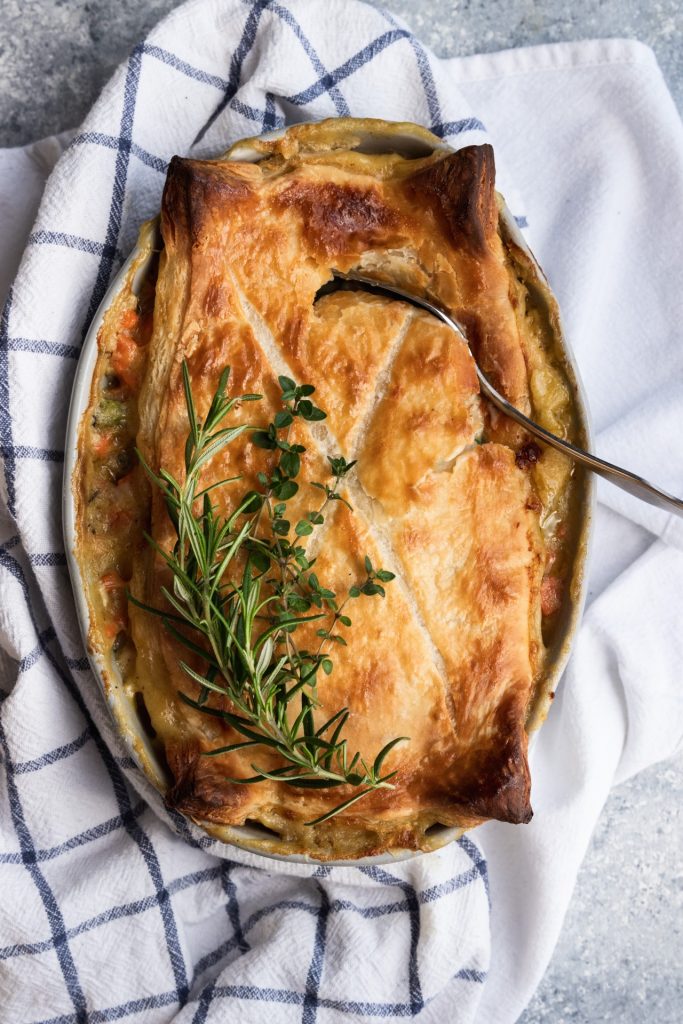
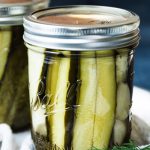
Canned Homemade Dill Pickles
- Total Time: 25 minutes
- Yield: 3 16 oz. jars 1x
Description
This recipe for classic, homemade dill pickles is canned, so you can have perfect old-fashioned pickles all year long!
Ingredients
- Fresh Pickling Cucumbers
- 1 cup white vinegar
- 1 cup water
- 2 Tbsp. pickling salt
- 3 sprigs fresh dill, 1 per jar
- 9 cloves fresh garlic, 3 per jar
- 30-45 black peppercorns, 10-15 per jar
- ½-1 tsp. dried red chili flakes (Optional)
Instructions
How to Make Pickle Brine
- In a small pot, combine the white vinegar, water, and pickling salt. Bring the mixture to a boil until the salt has dissolved.
- Allow the brine to cool before pouring it into the jars of pickles. If you pour it in while it's hot, it will cook the pickles.
Making and Canning the Dill Pickles:
- Begin by sterilizing your jars and lids. Fill a large, deep pot, with water and bring it to a boil. Place the jars and lids in the water and boil them for one minute to sterilize, then remove and set them on a towel to cool.
- Prepare the ingredients. Wash the cucumbers well, then cut them into quarters if you wish. You can also leave them whole if you prefer. Cut the dill into sprigs. Peel 9 cloves of garlic, then cut them in half.
- Place a sprig of dill and 2-3 garlic cloves that have been chopped in half in the bottom of each jar. Add the red chili flakes if you're using them.
- Pack the pickles into the jar so that they're tight but not smashed.
- Sprinkle 10-15 whole peppercorns over the cucumbers.
- Pour the brine into each jar. The brine should cover the pickles, but leave at least ½" of space between the brine and the lip of the jar.
- Place a new, sanitized seal on the top of each jar. Screw a lid ring tightly onto each jar.
- Bring the stockpot of water back to a boil and remove enough water to make room for the jars.
- Place the jars of pickles in the boiling water. Water bath them for five minutes, then remove the jars from the boiling water and set them aside to cool.
- Allow the pickles to cool at room temperature. As they cool, the lids will suction to the jars--you'll hear a pop as each one seals.
- Once the canned dill pickles have cooled completely, check each jar to make sure it has sealed. To do this, press on the center of each jar. If there is any give, or if you hear any sound, the jar hasn't sealed properly. Any jars that didn't seal can be stored in the refrigerator and eaten.
- Label each jar of pickles with the contents and date. The jars of dill pickles are now ready to store.
- Prep Time: 15 minutes
- Cook Time: 10 minutes


One Comment