Boiled chocolate frosting is a vintage recipe that uses simple pantry ingredients. It’s thick, fudgy, and comes together in just a few minutes. Use it to top your favorite cakes and desserts.
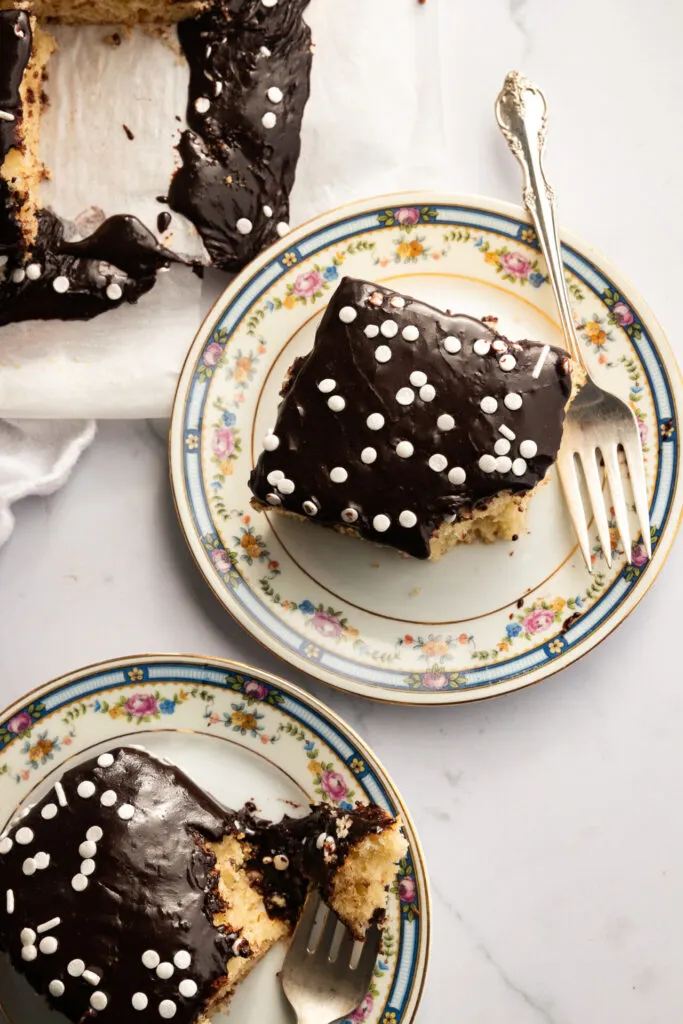
You know how Grandmas have a reputation for the best recipes? Well, this one came from my great-grandmother. It has that perfect old-fashioned blend of deliciousness and economy, simplicity and lick-your-plate goodness.
We’re doing more with less, is what I’m saying. Because this chocolate frosting has no…chocolate in it. Instead, it’s a recipe for chocolate frosting with cocoa powder and sugar, milk and butter. All the things you probably have on hand and easy to make. Also, very affordable, because the price of good chocolate these days is kind of crazy.
And you get a frosting that’s thick and fudgy, with a fabulous gooeyness that will leave you licking your fork, your plate, and probably the cake tin.
Ingredients
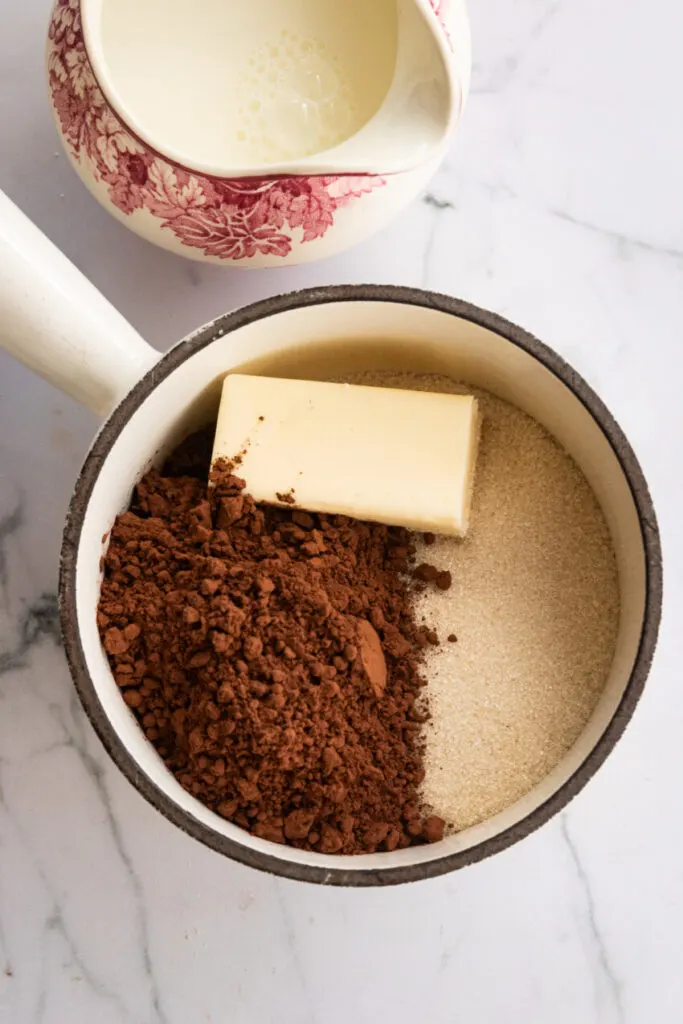
- Cocoa Powder — You can use any regular unsweetened cocoa. I like dark cocoa, but regular or even Dutch process cocoa works well.
- Sugar — I use organic cane sugar, but any white granulated sugar will do the job.
- Milk
- Butter — Salted butter is best, but if all you have is unsalted you can add a pinch of salt to the frosting.
Mixing and Boiling the Chocolate Frosting
Begin by filling a mixing bowl with ice and water. Have an electric hand mixer set up and ready to use (alternatively, you can whisk it by hand for a great arm workout).
Combine all of the ingredients in a small pot and place it over medium heat. Stir and cook until all the butter has melted and the mixture has come to a rolling boil.
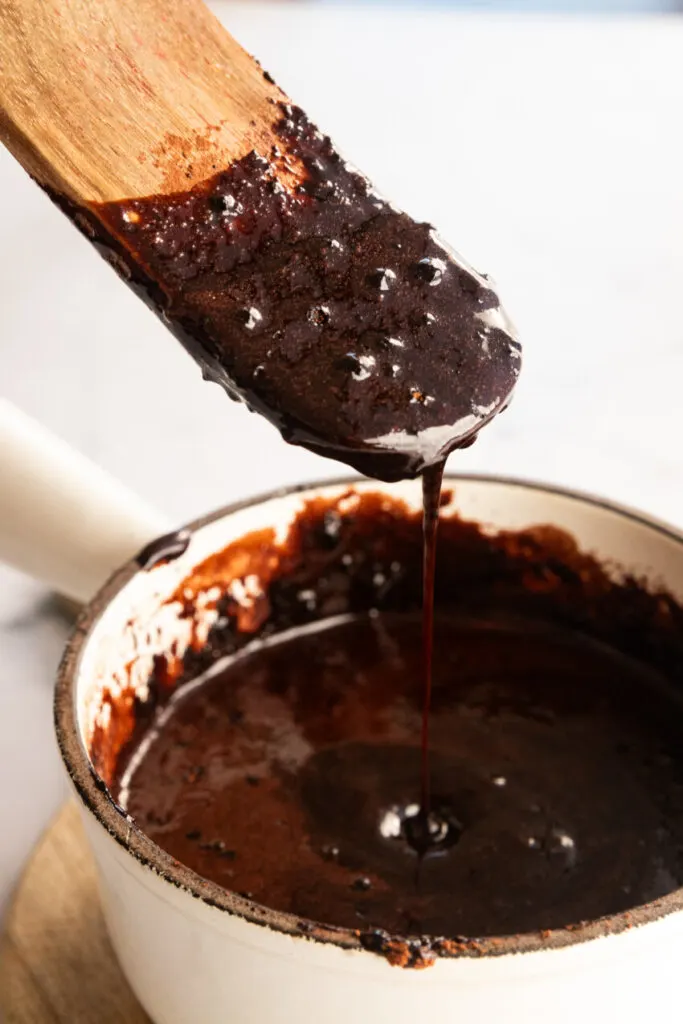
Continue stirring and boiling for 1 minute. The icing will be fairly runny and lumpy after cooking, but we’ll take care of that in the next step.
Cooling and Thickening the Frosting
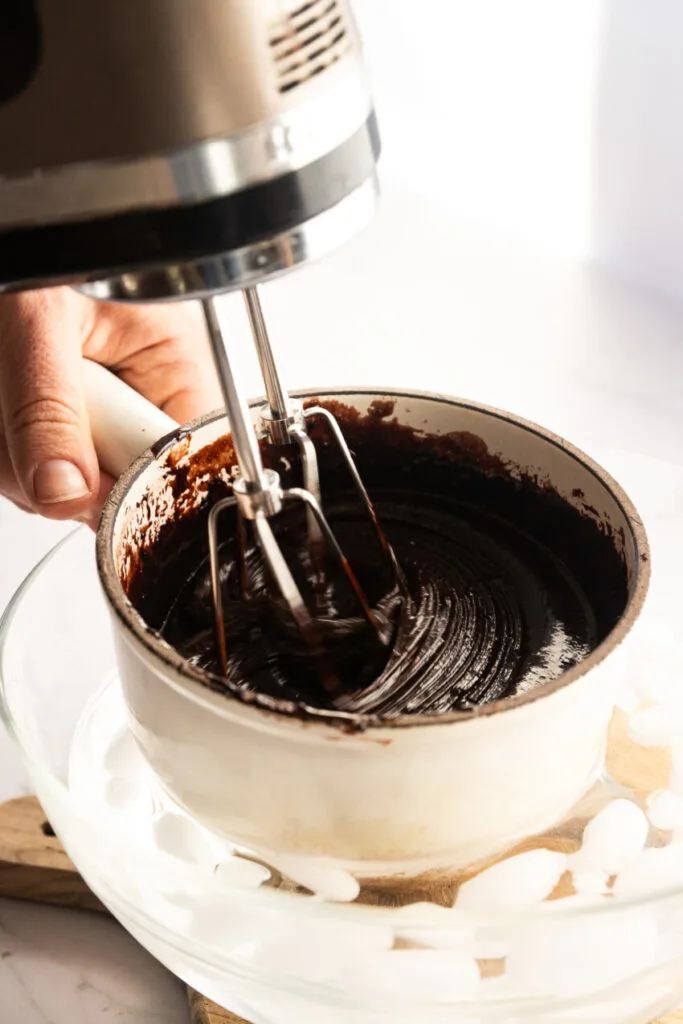
Remove the pan from the heat and place it in the bowl of ice water, taking care not to splash water into the frosting.
Using the electric mixer, beat the frosting until it has thickened to the desired consistency. I find that it’s best when it’s thickened but still pourable. Make sure not to beat it too long, or it can turn into a fudge that’s not useful for spreading on cakes.
Using the Frosting
Unlike fudge frosting, boiled chocolate frosting isn’t really something you can pipe. Once it’s cooled, it forms a hardened outer layer that cracks and breaks if you disturb it. For that reason, it’s most appropriate for topping sheet cakes, snack cakes, or could be spooned over profiteroles and cream puffs. I also really enjoy it on chocolate chip pound cake.
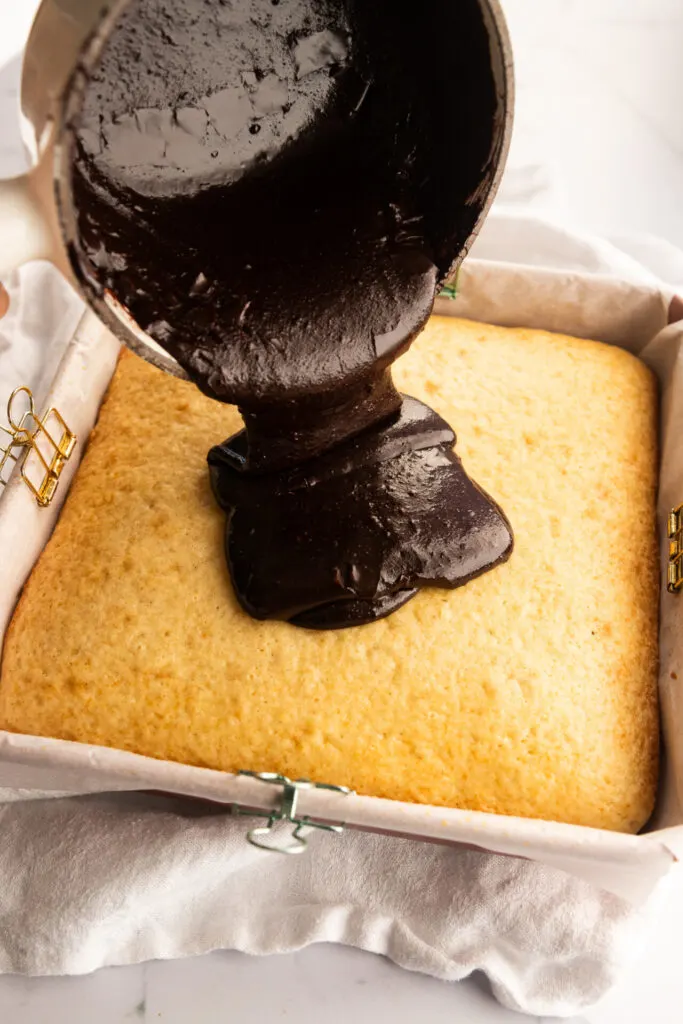
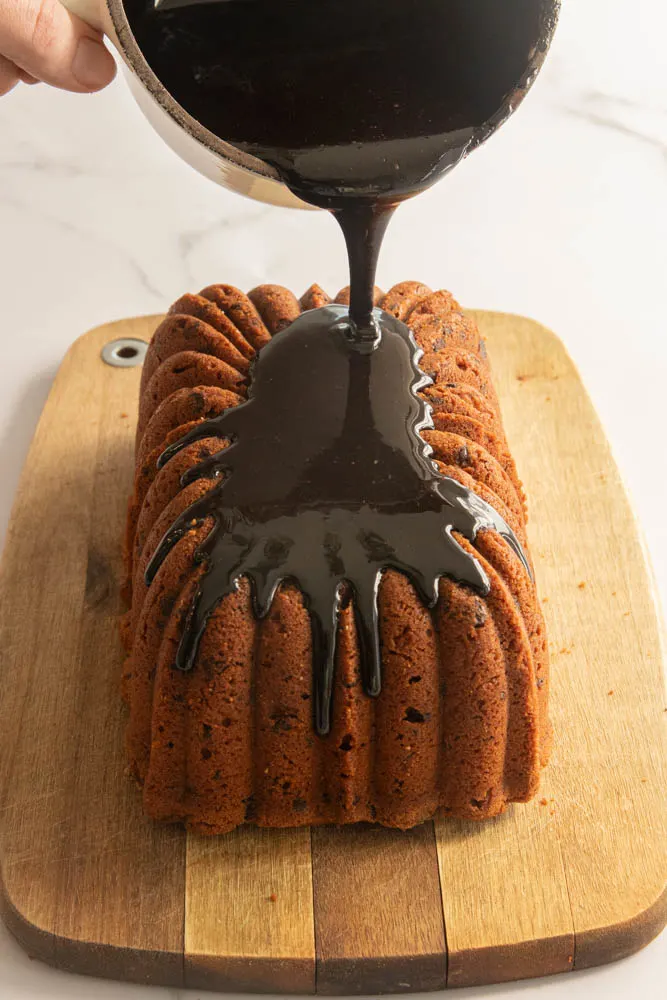
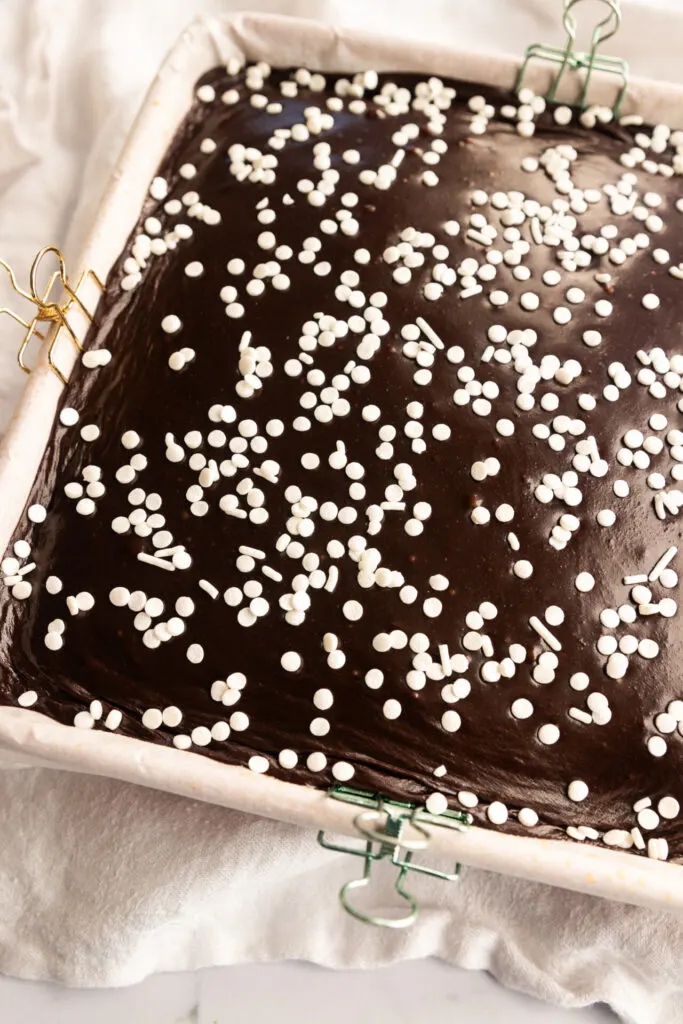
Because it has that skin when cooled, I recommend adding any sprinkles or decor you want before it dries. I like these dye-free sprinkles or simple white for a simpler color palette, but you can use any variety you like!
Recipe Notes & Tips
- This frosting needs to be used immediately after making it, so make sure to have your cake or dessert prepped and ready for frosting before you start making it.
- You can use any variety of cocoa powder– regular natural, dark natural, or dutch process cocoa powder. My favorite to use is dark natural.
- Because you are cooking it down, you can use coarse-grained sugar. I use organic sugar that has larger crystals than regular white sugar.
Boiled Chocolate Frosting
- Total Time: 10 minutes
- Yield: Frosting for 1 8″-9″ cake 1x
Description
Boiled chocolate frosting is a vintage recipe that uses simple pantry ingredients. It’s thick, fudgy, and comes together in just a few minutes.
Ingredients
- 1 cup granulated sugar
- 1/4 cup cocoa powder
- 1/4 cup butter
- 1/4 milk
Instructions
Begin by filling a mixing bowl with ice and water. Have an electric hand mixer set up and ready to use (alternatively, you can whisk it by hand for a great arm workout).
Combine all of the ingredients in a small pot and place it over medium heat. Stir and cook until all the butter has melted and the mixture has come to a rolling boil.
Continue stirring and boiling for 1 minute. The icing will be fairly runny and lumpy after cooking, but we’ll take care of that in the next step.
Remove the pan from the heat and place it in the bowl of ice water, taking care not to splash water into the frosting.
Using the electric mixer, beat the frosting until it has thickened to the desired consistency. I find that it’s best when it’s thickened but still pourable. Make sure not to beat it too long, or it can turn into a fudge that’s not useful for spreading on cakes.
Notes
You can use any variety of cocoa powder– regular natural, dark natural, or dutch process cocoa powder. My favorite to use is dark natural.
This frosting needs to be used immediately after making it, so make sure to have your cake or dessert prepped and ready for frosting before you start making it.
Because you are cooking it, you can use coarse-grained sugar. I use organic sugar that has larger crystals than regular white sugar.
- Prep Time: 5 minutes
- Cook Time: 5 minutes

Tanya Lagace
Tuesday 1st of July 2025
There are no quantities given for the cocoa, butter or milk. Not in the long instructions or on the recipe card.
Rebecca
Sunday 10th of August 2025
Thank you for the comment Tanya! I have updated the recipe card with the quantities.