A complete guide to dying eggs naturally and without a kit for Easter or any other spring celebration. Use real food and food scraps for a rainbow of vibrant, beautifully colored eggs.
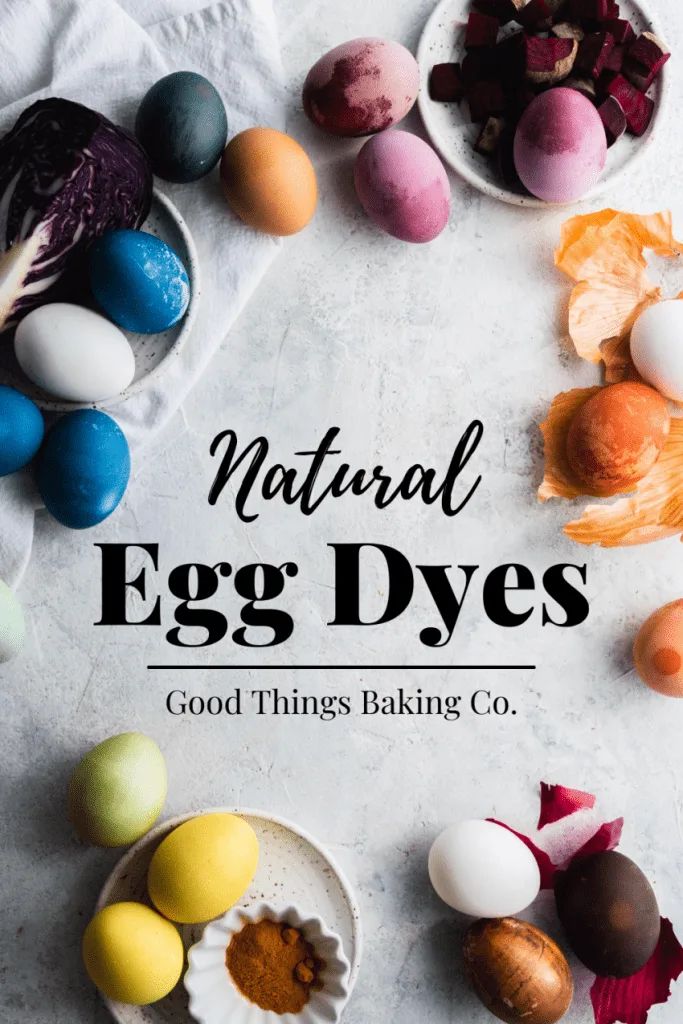
Dying eggs for Easter is a fun tradition that is part of the celebration of Christ’s resurrection all around the world. Even if you don’t celebrate Easter, cheery dyed eggs are a perfect centerpiece for spring! This is the ultimate guide to homemade egg dye without a kit or food coloring. It’s a healthy, low-waste way to color your eggs for Easter or any other celebration that is safe, effective, and non-toxic.
How Do You Color Eggs Naturally?
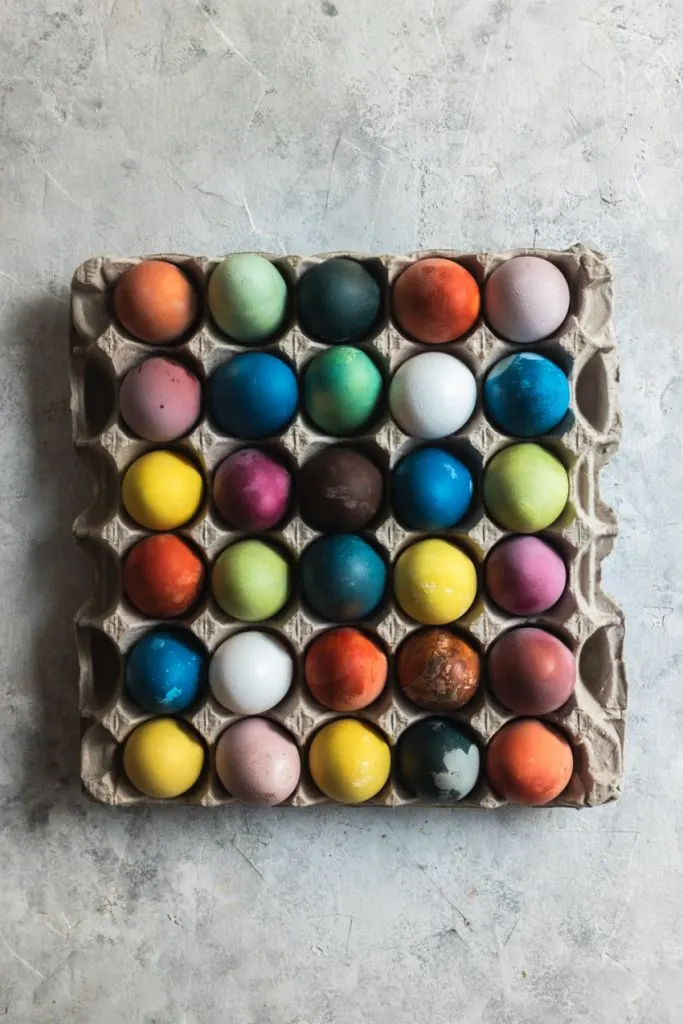
Natural Easter egg dyes are made from a variety of food items, which are boiled down and mixed with vinegar to create the dye. Simply soak your eggs in the dyes for 24-72 hours, checking them every day, until they’ve reached the color you desire. Keep reading for a list of the different foods and scraps needed to create different colored eggs!
Dying Eggs with Natural Dyes
Ingredients:
- Water
- Color Source (see the list below to choose which colors you want to use)
- White Vinegar
- Neutral-colored Oil (optional)
Tools:
- A small or medium pot
- A white plate or bowl
- A wire mesh sieve
- A bowl or container with a lid
- Paper towels or clean rags
What Ingredients Make Which Colors of Natural Easter Egg Dyes
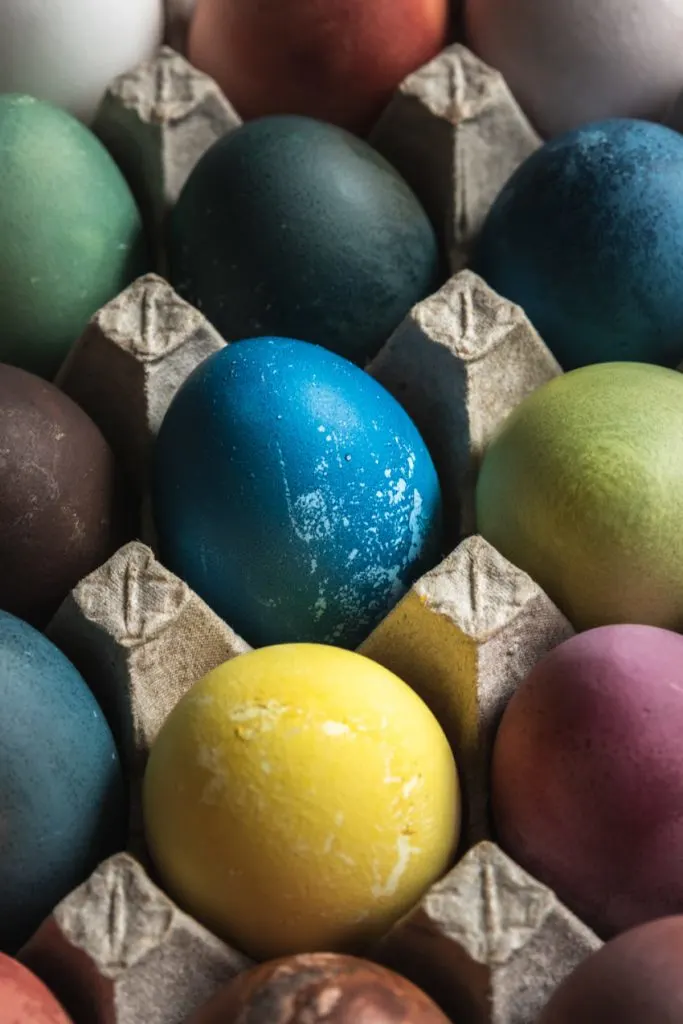
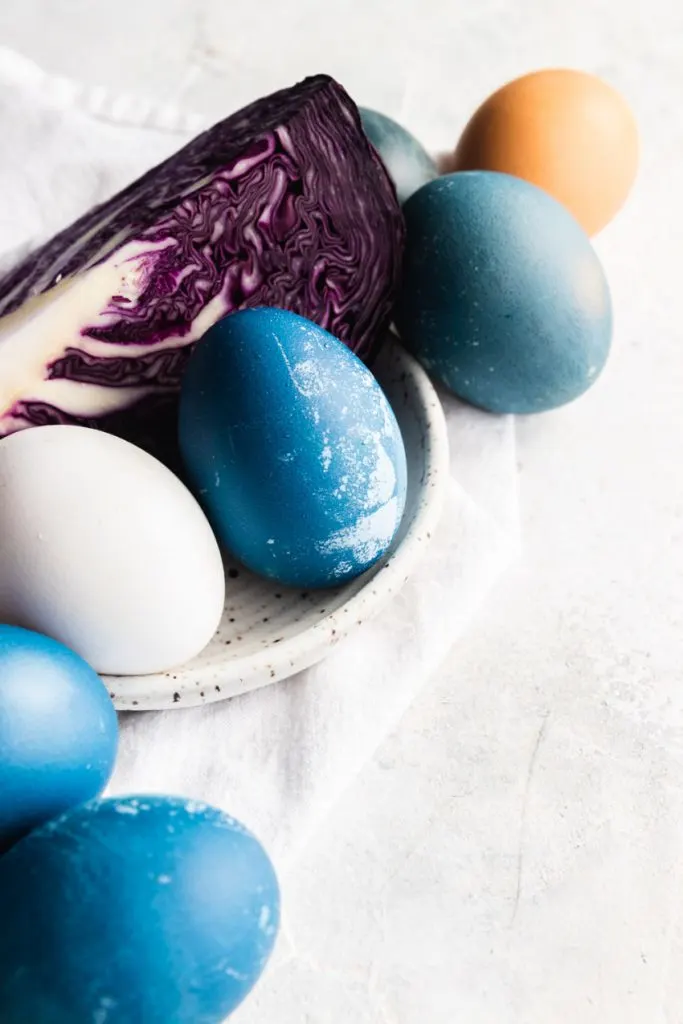
Red Cabbage: Blue for white eggs, greenish-blue on brown eggs
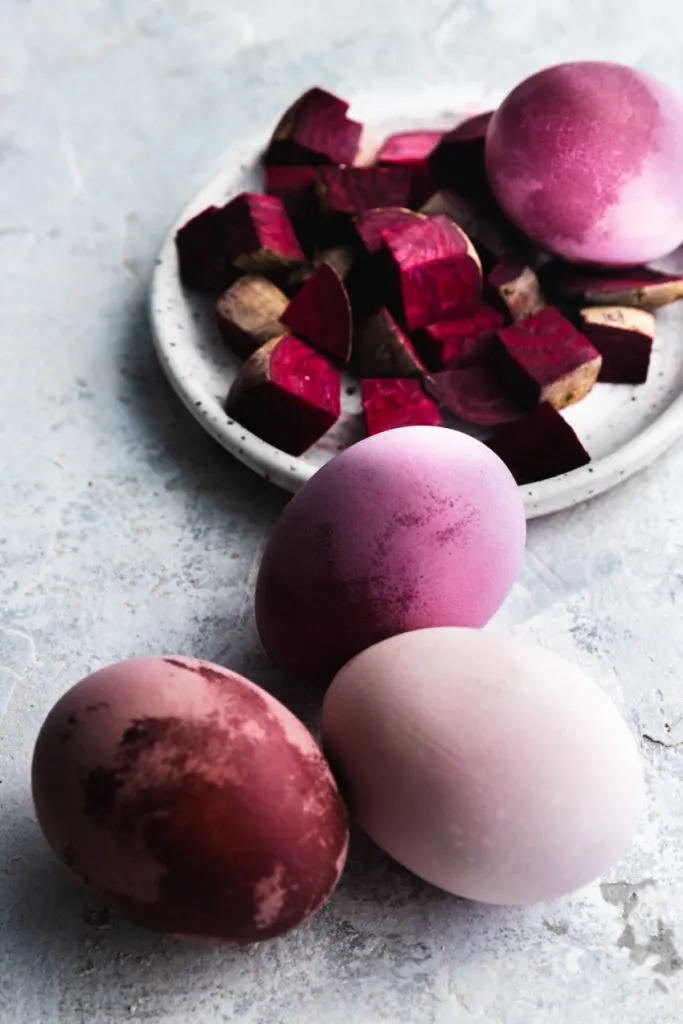
Beets: Pink-purple on white eggs
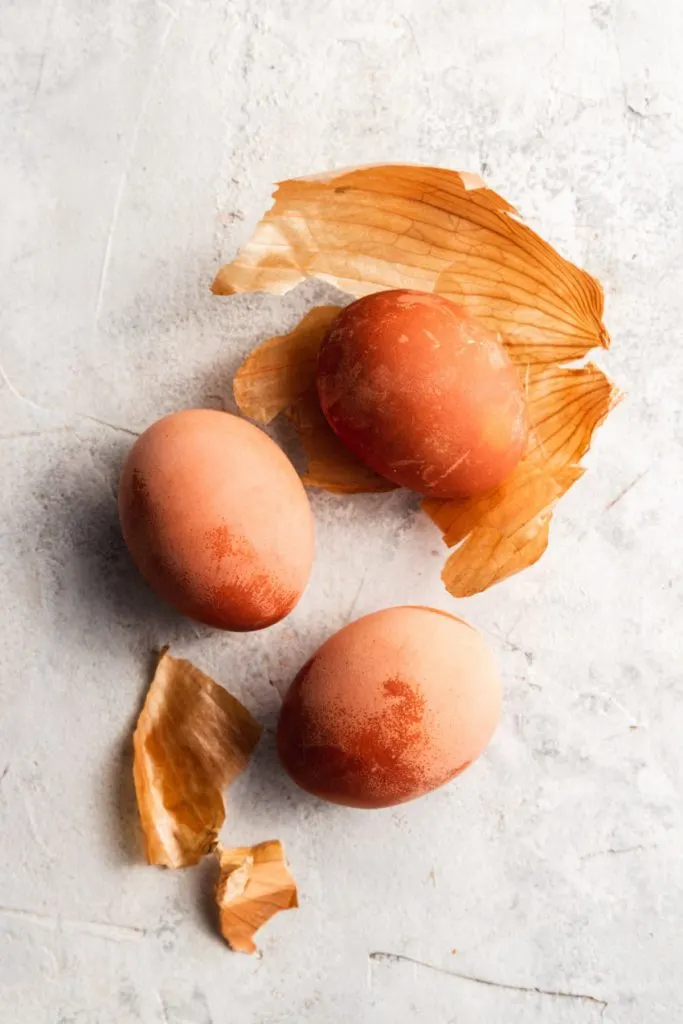
Yellow Onion Skins: Orange on white eggs
Red Onion Skins: Deep brown on white eggs
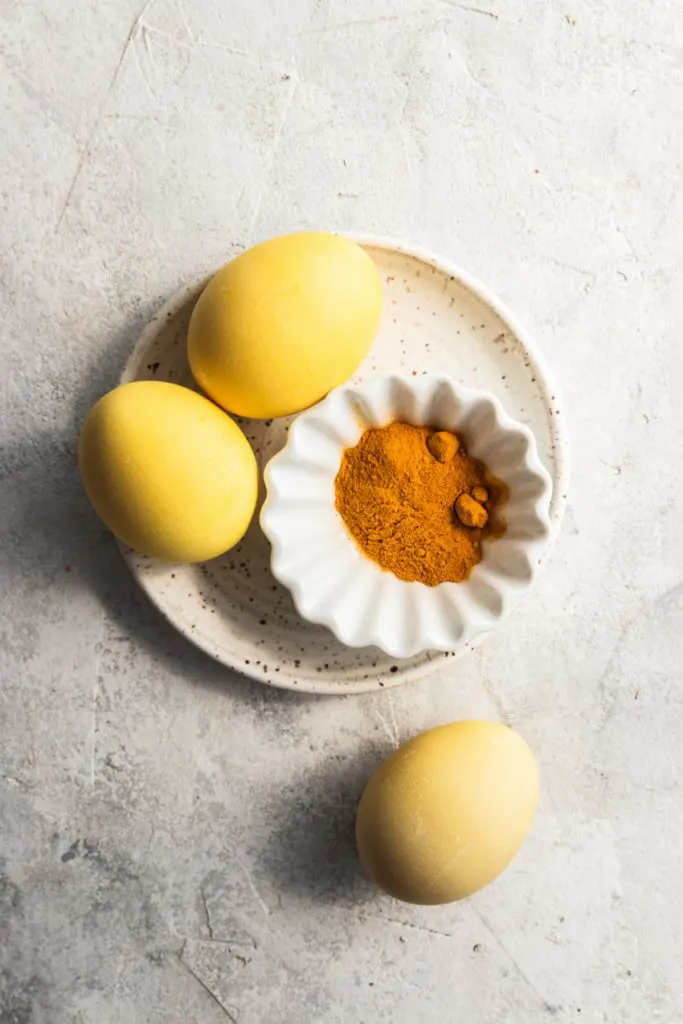
Turmeric: Yellow on white eggs
Blueberries: Grey-blue on white eggs
Coffee: Dark Brown
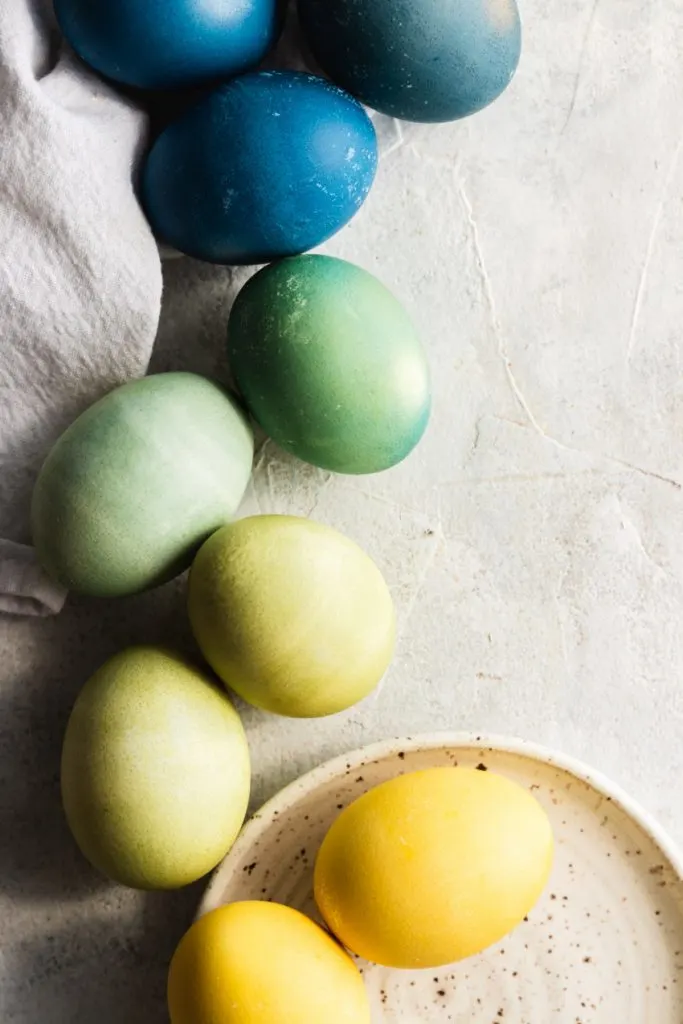
How Can I Naturally Dye my Eggs Green?
Green is a tricky color to get right! But it’s also such a great color for spring, and one that adds so much to your egg color pallette. All it took was a bit of color theory and experimenting.
To naturally dye your eggs green, take some of your blue dye made from red cabbage and some yellow dye made from turmeric. Mix them together in equal parts, making sure that the turmeric dye is stirred before doing so. You can add more blue for a more turquoise green, or more yellow for a more yellow-green. Soak the eggs as you would for any other color. The turmeric may settle at the bottom, but that shouldn’t affect the dyed eggs.
You can also take an egg that has been dyed yellow in turmeric dye and soak it in blue red cabbage dye for another day or two until it is a color you like. This method (it’s the one used in the top green egg in the photo below) tends to give a more marbled appearance, with some areas being more yellow and others more blue.
Preparing Natural Dyes for Easter Eggs
Natural egg dye is a formula and can be applied to almost any ingredient you wish to use or color you want to create. For most dyes, you’ll mix 1 cup of your dye matter (red cabbage, onion skins, beets, etc.) with one cup of water. Bring them to a boil in a pot, then after they’ve come to a boil, cover the pot and turn the heat down to low to simmer for 15-20 minutes.
To test the color of the dye, spoon a few drops of it onto a white bowl or plate. If you would like it to be darker, boil it for a few more minutes.
Once the dye has finished cooking, remove it from the heat and allow it to cool. Pour the cooled dye through a strainer, then add 1 tablespoon of vinegar per cup of strained dye. Your natural egg dye is now ready to use.
Dying the Easter Eggs With Your Natural Dye
Place your eggs (continue reading for information about how to prepare them) in a container that is slightly deeper than the thickest part of the eggs, and pour the dye over them. Cover the container and place it in the refrigerator.
When it comes to natural dyes, some work more quickly than others. I recommend allowing the eggs to soak in the dye in the refrigerator for 24 hours. Then, remove them from the dye and pat them dry. If you would like the color to be darker soak them for another 24 hours.
You can dip a paper towel in neutral-colored oil (think vegetable oil, not olive oil) and rub it on the egg shells. This isn’t necessary, but does give them a nice shine.
Prepare Your Eggs for Natural Dying
You can use eggs that are raw or that have been hard-boiled to make dyed eggs.
- Hard-boiled eggs: Place raw eggs in a pot and cover them completely with cold water. Place them over medium-high heat and bring them to a boil. Once the water has come to a rolling boil, turn the burner down to low, place a lid on it, and simmer the eggs for 12 minutes. When they are done, remove them from the hot water immediately. Place them in a pan of ice water to stop the cooking. After they’ve cooled completely, place the eggs in the dye and let them sit for 24-72 hours. When they’ve reached the desired shade, remove them from the dye and pat them dry with a paper towel or clean rag.
- Raw eggs: Simply place clean, uncooked eggs in a container with the dye and let it sit for 24-72 hours. When they’ve reached the desired shade, remove them from the dye and pat them dry with a paper towel or clean rag.
- Hollow eggs: If you want to keep your eggshells year after year, prepare raw eggs and dye them to the shade you wish. After removing them and drying them, poke a small hole with a needle in the top of each egg, using the needle to break up the yolk. Create a larger hole in the bottom (a small nail works well). Place the egg over a bowl, place a small straw over the hole in the top of the egg, and blow until the yolk and white are out and the egg is hollow. This allows you to keep your eggshells indefinitely.
Can I Dye Brown Eggs Naturally?
Yes, you can dye brown eggs naturally. The color of the shells will alter the appearance of the final color. The blue dye (made of red cabbage) gave the brown eggs a dustier, greenish-blue tint in the picture below. I also found that some of the dyes (such as those made from onion skins) seemed to bleach the brown eggs, leaving them with a strange film that wiped off and left them pale.
The History of Dying Easter Eggs
While the history of dying and decorating eggs predates Christianity, the church adopted the tradition as eggs came to symbolize new life and resurrection. The original Easter eggs were dyed red in commemoration of Jesus’ blood being shed, as well as yellow and green eggs in the Greek Church.
Other Tips and Notes
- Remember that these are dyes and will color any other materials they come in contact with, including clothes or rags.
- To avoid lighter spots on your eggshells, rotate them every few hours if possible so that there’s no part of the egg that is not submerged in the dye.
- Some parts of the eggs may take more dye than others, leaving you with lighter/marbled areas. This is all part of the natural dye game, but you can minimize it by not rubbing the eggs when you remove them from the dye. To dry them, pat them gently with a clean cloth or paper towel.
- I found that a jar is the best container to hold the eggs while they sit in the dye.
- You can decorate the Easter eggs with these white markers and they can even be used as place markers for your Easter table!
As an Amazon Associate, Good Things Baking Co. earns from qualifying purchases. Links on this page may be affiliate links.


Italian Easter Bread {Pane di Pasqua} - Good Things Baking Co
Tuesday 13th of April 2021
[…] is braided or twisted and then turned into a circle, giving you an impressive crown shaped loaf. Dyed Easter eggs, which represent new life coming from the egg shell just as Jesus rose from the tomb, are then […]