Here’s how to make a basic pie crust– flaky, perfect, and that you can use for any kind of pie, savory or sweet!
Those are rather bold words, aren’t they? When it comes to baking pie crust, you will hear mixed reviews. Some people think that it’s entirely too time consuming, others think it’s too hard. A lot of bakers think it’s not worth the trouble and just buy their from the freezer section. Which is just fine if that’s your style, but I’m here to tell you that there is no comparison in the flavor department. You won’t get the same flaky texture. It’ll taste like any and every kind of fat besides butter. And you have pretty much zero control over it’s appearance.
All I’m trying to say is that it’s SO VERY WORTH IT. Sorry for yelling. But really, it is. And while there are a few tricks to getting it right, pie crust is really not difficult. The recipe I use is based on Perfect Pie Crust by Ina Garten. I mean, would it even be hers if it weren’t perfect? While all pie crusts are (generally) the same basic ingredients– flour, salt, fat, and water– this one is consistently the best balance of all of them. I’ve also written out lots of notes that are worth a read if you’re just getting started in this whole world of pastry making. So give them a read, and make thee some pie crust. Then fill it with amazing things to turn it into a pie.
Let’s begin, shall we?
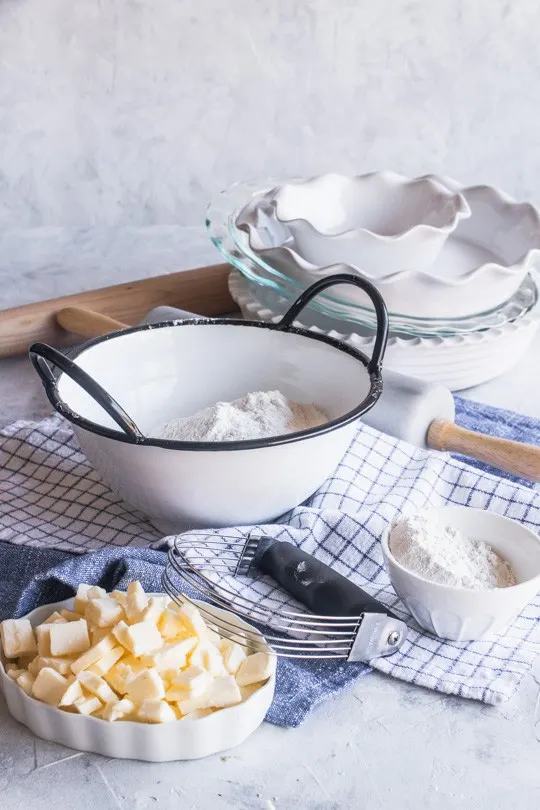
The Ingredients
It’s a pretty simple list of ingredients, but oh the magic they do.
- First, the flour. All-purpose is your best bet, since it’s got a low gluten content and you want to avoid gluten development. Overworking the dough (which makes the gluten develop and gain structure) can lead to a tough pie crust.
- Fat(s) are the most tinkered with part of a pie crust. Some swear by shortening, others will only use butter. There’s also the option of lard. They all have different strengths and weaknesses. Shortening has a high melting temperature, and because the goal is to keep your fat from melting into the flour, it is the easiest to work with and still get flaky results. Butter has the best flavor, but a lower melting temperature, which can make it a bit more difficult to work with. It also has a higher percentage of moisture, which evaporates into steam when it’s baking and gives you a flakier, lighter crust. Lard is similar to shortening, but since I don’t care for the flavor, I never use it.
- This recipe also uses a bit of sugar. This helps it brown up nicely when baking.
- Water. Make it cold, and add it until the dough looks and feels right to you. Ignore the people who tell you to use vodka or some such nonsense. Good old H2O does the job perfectly.
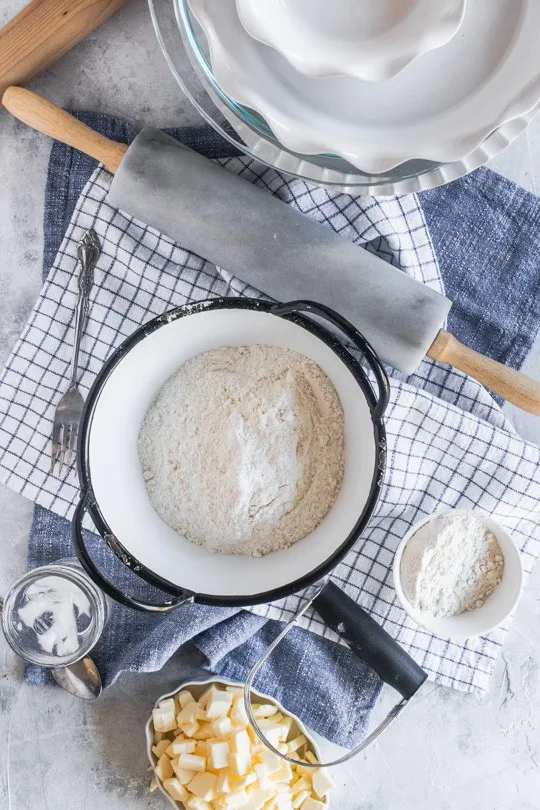
Making the Dough
- First, get all of your ingredients nice and cold. Even the flour will play nicer if you pop it in the freezer for ten minutes. Cut the butter into small cubes, and throw the shortening in the fridge for a bit. Get some water and ice playing nice in a cup somewhere, and make sure you have a little extra.
- Mix the flour and salt well, and start by cutting in the shortening. You can do this with a pastry blender, but if you don’t have one, two butter knives whacking away at it will get it nice and cut in. Repeat this step with the butter. When you’re finished, you still want some visible pieces of fat about the size of peas. The flour will also be a little bit clumpy, like slightly damp sand. Something like this….
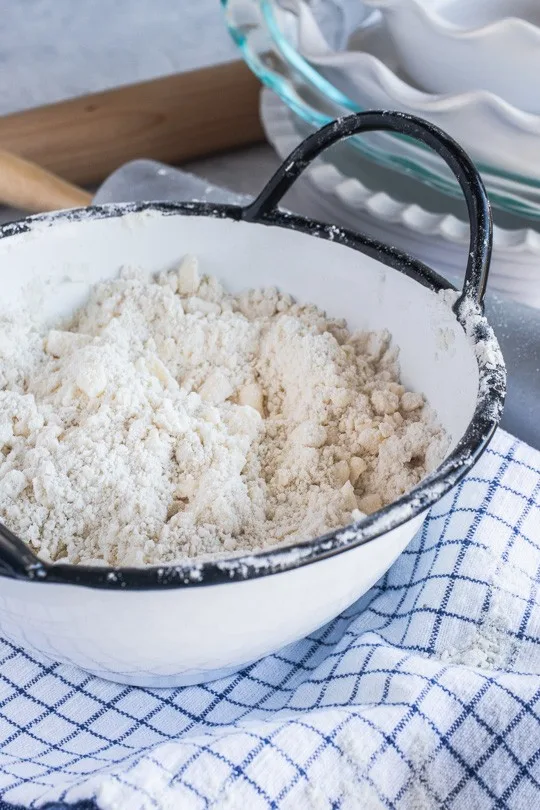
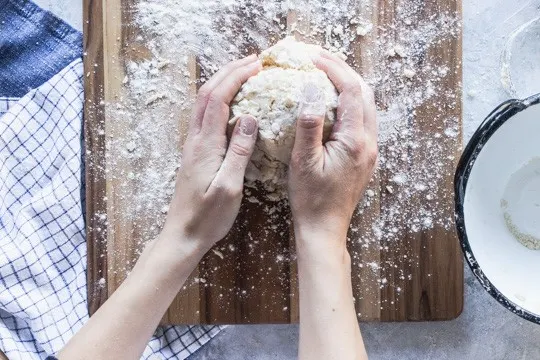
- Add the ice water (but not the ice) to the flour a few tablespoons at a time, and use a fork to mix it together. Continue adding until it’s come together into a shaggy dough–trust your eyeballs more than a recipe. I generally add more than a recipe calls for to make the dough the proper consistency. You should still see a few loose, smaller bits around the edges, but you should be able to press it together into a rough ball. Like in the picture…
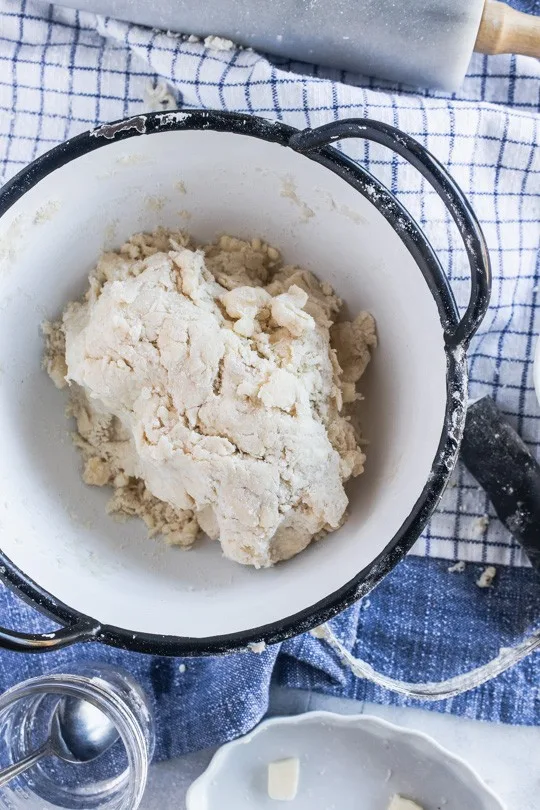
- And your dough is almost ready to roll out! But first, press into a disc, wrap it in plastic wrap, then pop it into the fridge for 30 minutes to an hour (or up to a day) to get every it all nice and cold again. Then, moving right along…
Rolling Out the Pie Crust
- First, generously flour your surface and rolling pin. Set out the pie plate you wish to use.
- Roll the crust in long, smooth strokes away from you. Turn the crust every few strokes to make sure that it isn’t sticking, and if it is, gently lift the dough a bit and sprinkle a bit more flour underneath.
- Try to keep it as close to circular as possible. You can use your hands to gently press the edges smooth as you work, and keep it in the correct shape.
- Roll it out to between an eighth and quarter inch thick.
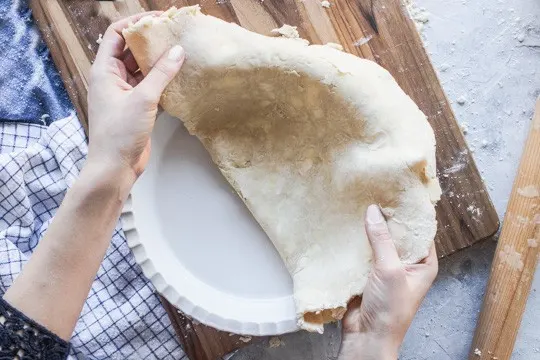
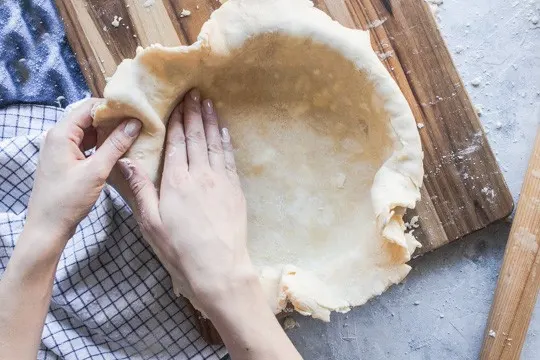
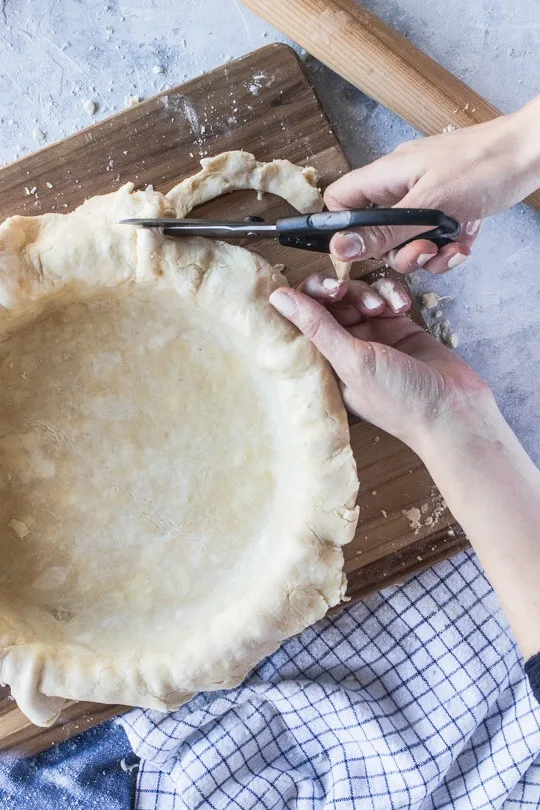
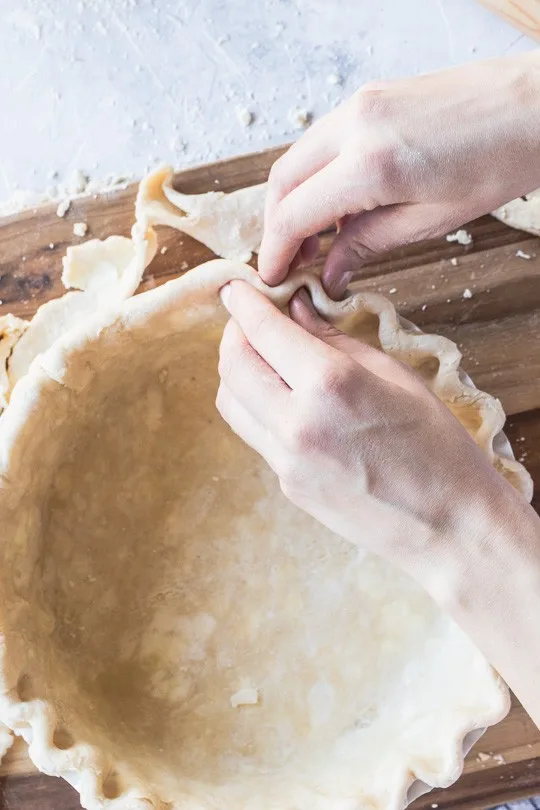
- Carefully fold it in half and lift it into the pie plate. Gently press it into the edges of the plate, then trim the edges until there’s one to two inches hanging over the sides of the plate. Fold them under on top of the lip of the pie plate, then crimp or pinch the edges however you would like. Here’s a video with a few ideas.
- Pop it back in refrigerator for 15-20 minutes before baking.
Baking the Crust
- Poke the crust all along the bottom and edges with a fork to allow steam to escape as it bakes. This is called docking the crust.
- If you are going to be baking it with a filling, simply pour the filling in and bake it according to the recipe instructions
- If you are going to be using a premade filling (such as a pudding or fresh fruit), the crust will have to be prebaked, or “blind baked.” To do this, preheat the oven to 375F, then dock the crust. Line it with parchment paper, and fill it with baking beans, dry beans, rice, or sugar. Bake it for 20 minutes, then remove the parchment paper and filling. Return it to the oven and bake for another 25-30 minutes, or until the bottom is baked and the edges are golden brown.
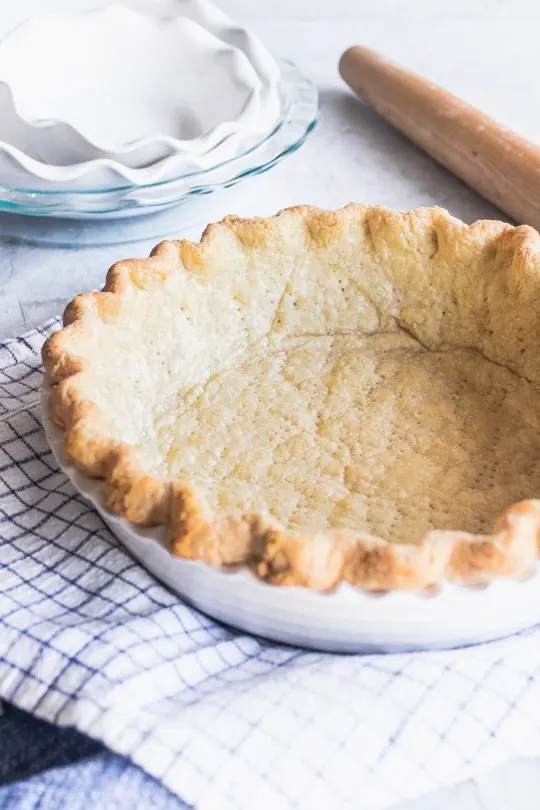
And that’s it! You have got this pie crust thing down by now, and the possibilities are endless!
Print
How to Make a Basic Pie Crust
Description
Here’s how to make a basic pie crust– flaky, perfect, and that you can use for any kind of pie, savory or sweet!
Ingredients
- 3 cups (360 g) all-purpose flour
- 1 tsp. (6 g) salt
- 1 Tbsp. (12 g) sugar
- 12 T (170 g) unsalted butter, cold and diced into small cubes
- 1/3 cup (32 g) shortening, very cold
- 10–12 Tbsp. ice water
Instructions
In a bowl, combine the flour, sugar, and salt. Give it a stir to combine, then cut in the shortening until it is in small pieces. Next, cut in the butter until it is about the size of peas.
Use a fork to mix in the water a few tablespoons at a time until you have a rough dough that is just coming together. Press it together into a ball, then flatten it into a disc, wrap it in plastic wrap, and refrigerate for 30-45 minutes. It can also keep in the refrigerator for up to 3 days.
When you are ready to roll out the pie crust, cut your dough in half and flour a surface generously. Roll half of the dough out in a circle until it is about 1/8″ thick. Carefully fold and lift it into the pie plate, then unfold it and gently press it into the edges of the dish. Trim off excess and fold/flatten/crimp edges to the desired design.
Follow the instructions above for blind baking or filled baking.

Sun Dried Tomato, Spinach, and Gouda Quiche - Good Things Baking Co
Wednesday 29th of December 2021
[…] grocery store if you don’t care for making your own. But if you feel like making your own, this recipe for making a perfect pie crust is fabulous and walks you through the entire […]
Sona
Wednesday 14th of October 2020
I love this pie crust recipe but it's enough for a 10 inch pie and I always make 9 inch pies. What do you do with all that crust? Just make thicker pies or save part of it, or what?
Crystal
Sunday 17th of January 2021
Cut the extra pie crust into strips and brush with cream. Sprinkle with sugar and cinnamon and bake in the oven until done. Delicious treat!
Rebecca Neidhart
Wednesday 14th of October 2020
Hi Sona! I wouldn't recommend making the crusts thicker, as you could end up with a tough, dense crust and have trouble baking it through. But the dough does freeze well, so I would recommend saving any you don't use! Wrap it well, then place in a freezer bag for safe storage for up to a couple of months.
Apple Cranberry Pie - Good Things Baking Co
Sunday 30th of August 2020
[…] obviously start with a pie crust. I recommend this Basic Pie Crust— the post has a full tutorial and a pretty much fail-proof […]
Blueberry Peach Galette - Good Things Baking Co
Friday 31st of July 2020
[…] by making a pie crust using this recipe for Basic Pie Crust. The post is full of tips for a flaky, delicious pie crust, so make sure to read it […]
Elyse
Thursday 7th of May 2020
This made all the difference in my chicken pot pie! It is my son's favorite meal that he requests all.the.time but I always felt like it could be improved on. This pie crust did it! Even the others in the house who don't love chicken pot pie were raaaaving and now ask for it as well. Love it, will be making again :)