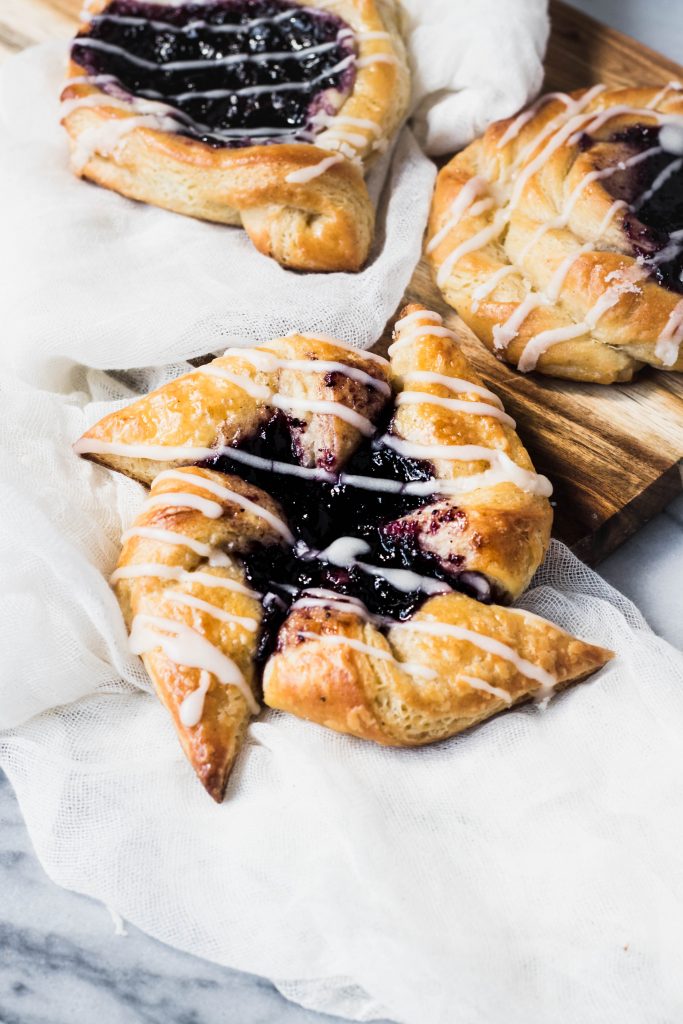
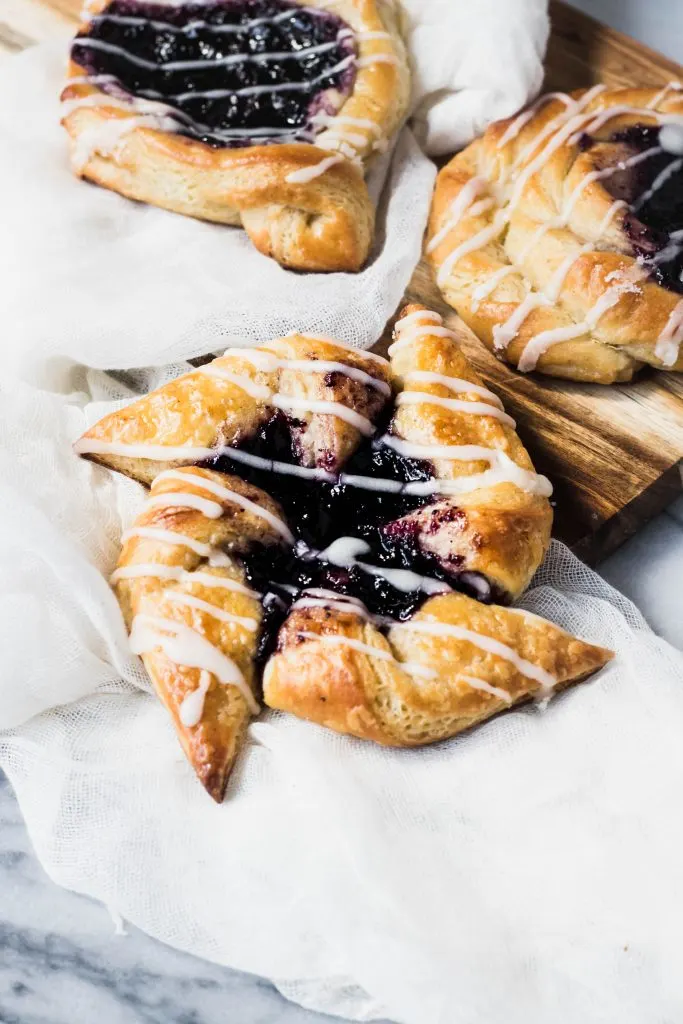
Blueberry Cream Cheese Danishes are made using a traditional method to create a tender, flaky, and delicately sweet breakfast pastry.
When I was a kid, weekends weren’t really a thing. My dad’s work schedule generally had rotating days off, so Saturday was dreaded because we had to clean the house. I still rather hate that part of life. Sunday was reserved for church. Days off were generally filled with the usual school, piano lessons, and just normal, everyday life.


But glory be, I married a man for whom weekends are a thing. Generally speaking, he has weekends completely off, and it is glorious. It is beautiful. It is something we both look forward to and enjoy, even if two small children take a lot of the relaxation out of it all.
On the rare weekend when there aren’t a million thing going on, one of my favorite thing to do is bake (surprising, right?). But I’m talking about the slightly more complicated and/or time consuming projects that are, in reality, an art form. Laminating dough and tempering chocolate isn’t exactly quick or easy, but it’s so worth it to create something that has that extra delicious factor that come from traditional methods and processes that can’t be rushed.

These Blueberry Cream Cheese Danishes are one of those kinds of baking projects. You’ve probably had terrible versions of these from hotel buffets, or maybe seen them made with pre-made dough from a can. But those can’t hold a candle to these. Tender, yeasty dough that you fold around layers of butter, and then top them with sweet, sticky jam. And eating a warm, sweet pastry fresh from the oven? That can’t come out of can. Neither can the extra love you can tuck into each layer.

Let’s talk about the cardamom for a minute. It can be a bit strange the first time you use it. To be honest, the first time I made these, I almost didn’t add it because the spiced floral scents was so unusual. But give it a try! It adds a depth of flavor and uniqueness to the dough that I think you’ll find delightful and surprising.
Print

Blueberry Cream Cheese Danishes
- Total Time: 3 hours, plus 4-24 hours rest/rise time
- Yield: 12 Danishes 1x
Description
This danish recipe is a traditional method for making the popular breakfast pastry. Tender, flaky, and delicately sweet, these are the perfect baking project to share.
Ingredients
- 3 C (360 grams) all-purpose flour
- 3 Tbsp. (42 grams) white sugar
- 2 1/2 tsp. (9 grams) instant yeast
- 1 tsp. (2 grams) cardamom (optional)
- 1 tsp. (7 grams) salt
- 2 Tbsp. (28 grams) soft butter, unsalted
- 1/2 cup (118 ml) whole milk
- 1/3 cup (79 ml) water
- 1 egg
- 1 tsp. vanilla extract
Butter Block
- 1 cup + 2 Tbsp. (253 grams) salted butter
- Flour for sprinkling
For the Fillings:
- 8 oz soft cream cheese
- 1/3 cup powdered sugar
- 1 tsp. vanilla extract
- 1 egg
- 1 jar of blueberry jam or preserves
For the Glaze:
- 1/2 cup of powdered sugar
- 1/2 tsp. vanilla extract
- 1–2 tsp. milk
Instructions
To Make the Dough: In the bowl of a stand mixer, combine flour, white sugar, yeast, salt (put it on the opposite side from the yeast), cardamom, and softened butter. Using the dough hook, mix until they are combined, then slowly pour in the milk, water, egg, and vanilla. Continue mixing on low until the dough is combined and cohesive, then turn the mixer up to medium and allow it to knead for 5 minutes. The dough will be soft, but should form a cohesive ball. If not, slowly add flour, a tablespoon at a time, until it is a workable dough but still soft.
Oil your hands and a clean bowl, and shape the dough into a bowl then place it in the bowl. Cover it with a sheet of plastic wrap and let it rise in a warm place for 1-2 hours, or until it has double in size. Place the dough in the refrigerator until it is completely chilled.
To Make a Butter Block: Generously sprinkle a piece of parchment paper with flour, the place the butter on it. Sprinkle the top of the butter with more flour, then place another piece of parchment on top of it. Using a rolling pin, smash and roll the butter into a sheet until it measures 6”x12”. Return it to the refrigerator until it cold but still pliable. Do not keep in the refrigerator until it is completely hard, or it will shatter into chunks when you roll it into the dough.
To Laminate the Dough: On a generously floured surface, roll the dough into a rectangle about 7”x18”. Cut the butter block in half, and place one half in the center of the dough. Fold one end over the butter, place the other half of the butter block on top of it, then fold the other third of the dough over the top of the butter. Pinch the edges of the dough to seal in the butter, then roll it out into a rectangle about 12”x8”. Fold it into thirds again, then wrap it in plastic wrap and place it back in the refrigerator for about 30 minutes to chill it all again, then repeat the folding and rolling three more times for a total of 4 folds. The dough is now read to be shaped, or can be kept in the refrigerator overnight at this point.
To Shape the Danishes: Remove the dough from the refrigerator, place it on a well-floured surface, and roll it out to a rectangle about 12”x16”. You want it to be a bit larger so that you can trim the edges and even them out.
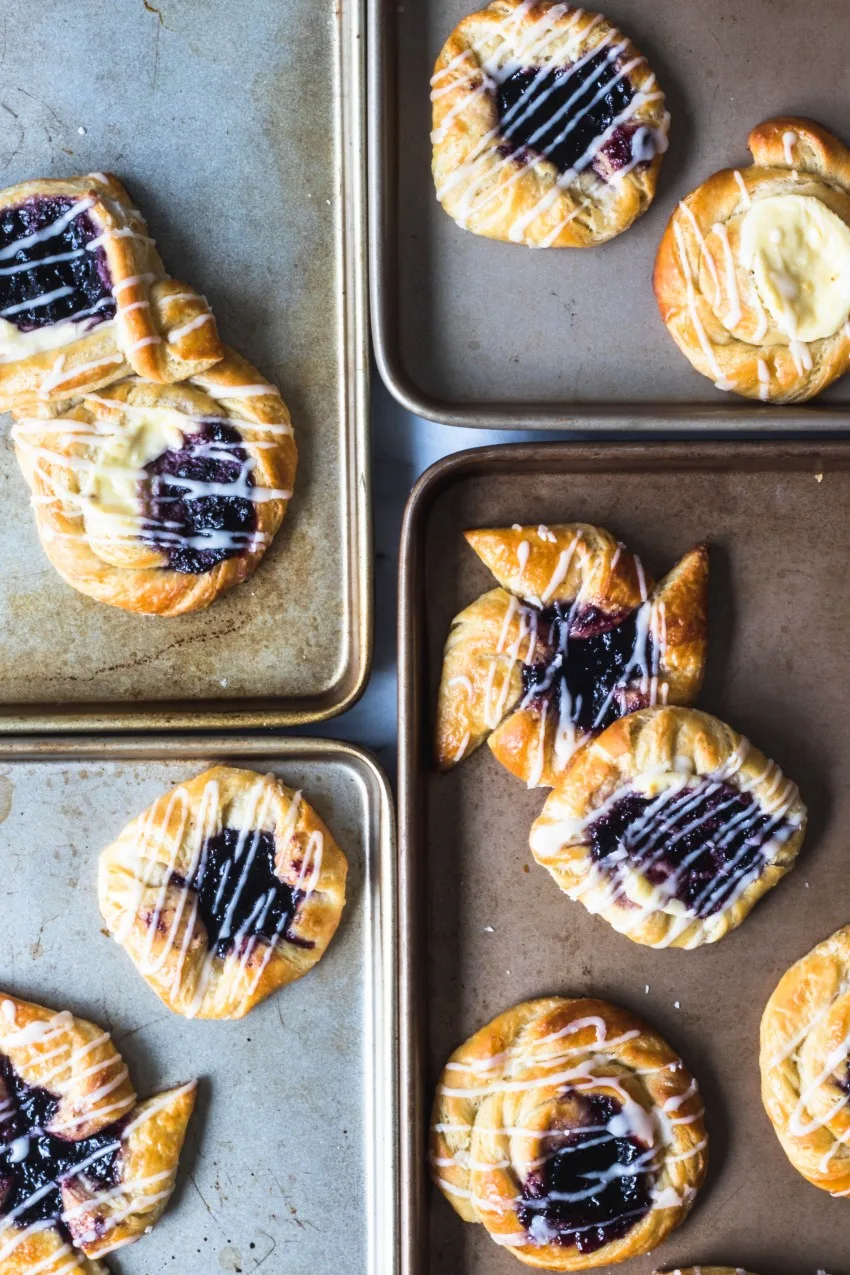
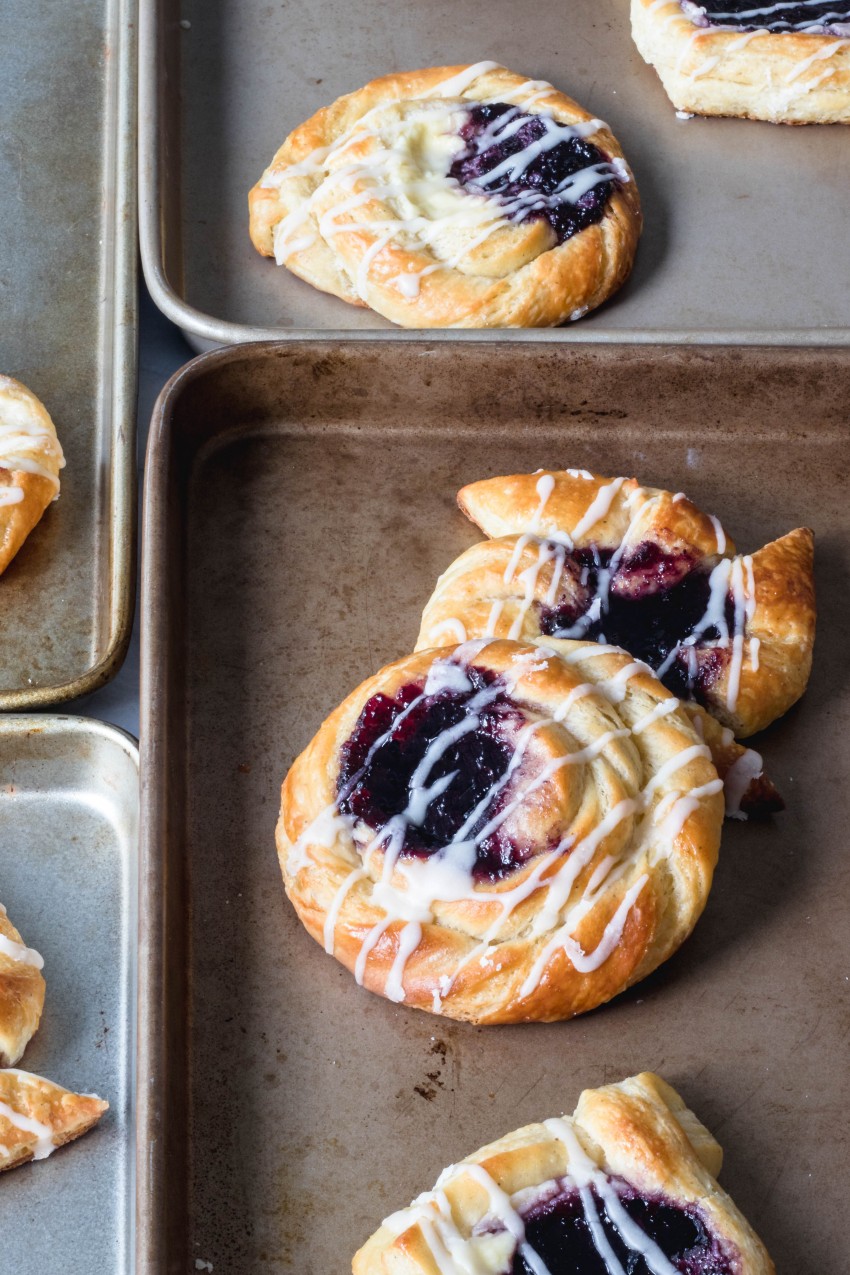
There are several ways to shape them. For classic rounds, cut the dough into 1” strips lengthwise. Gently twist each strip 5-6 times, then coil it into a loose snail shape. You want the coils to be touching, but not too tightly so that they have room to rise.
For pinwheels, cut the dough into 4” squares. Using a sharp knife, cut from the corners into the center, leaving about an inch of dough uncut in the center. Take the right side of each corner and fold it into the center, pressing gently to make the dough stick.
For diamonds, cut the dough into 4” squares. Fold the corners up into the center and gently press to make the dough stick.
Place the pastries onto a parchment lined baking sheet, then place them in a clean plastic bag with plenty of air trapped inside so that the bag doesn’t stick to the dough. Allow them to rise for 1 1/2 to 2 hours, or until the dough is soft and puffy. You can refrigerate the dough overnight at this point, and remove it and allow it to rise in the morning before baking. The rising may take a little bit longer, since the dough will be very cold.
To Fill the Danishes: Combine all of the filling ingredients except the blueberry jam in a small mixing bowl, and beat it until smooth. You can add more powdered sugar to create a sweeter filling.
In a small bowl, beat an egg well, then brush it over the shaped pastries with a pastry brush. Using the back of a greased, round tablespoon, press firmly into the center until there is a small well. Spoon about 2 teaspoons of filling (either the jam or cream cheese) into the center.
Preheat the oven to 375°, and set a rack in the center. Bake the danishes for 18-20 minutes, or until they are a deep golden color. I recommend using a spatula to peek at the bottoms and be sure that they are done underneath also.
While the danishes are baking, stir together the glaze ingredients and pour it into a small zippered plastic bag. You can snip the corner off of the bag for more control while drizzling the glaze.
Allow them to cool for a few minutes, then drizzle with the glaze and serve.
- Prep Time: 2 1/2 hours (divided)
- Cook Time: 20-25 minutes
- Category: Pastry
- Method: Lamination
- Cuisine: European
Lemon Blueberry Shortbread Bars - Good Things Baking Co
Thursday 2nd of January 2025
[…] Blueberry Cream Cheese Danishes […]
Crumb Topped Danish Braid - Good Things Baking Co
Friday 23rd of August 2019
[…] Do you know what the best part of making pastry is? The techniques may have a learning curve, but once you have it down, there are SO MANY ways to use it. Take, for example, lamination. It’s the process of folding a block of butter into a dough to create a flaky, layered pastry. And yes, it’s tricky until you get the hang of it. It can be time consuming, especially the first time you try it. But it’s also the basis for croissants, puff pastry, kouign amann, and danish dough. […]