Have you ever wondered what asiago cheese is used for? This Asiago Focaccia Bread recipe is your answer! The classic, fluffy Italian flatbread loaf gets a flavor explosion from asiago cheese mixed into and topping it.
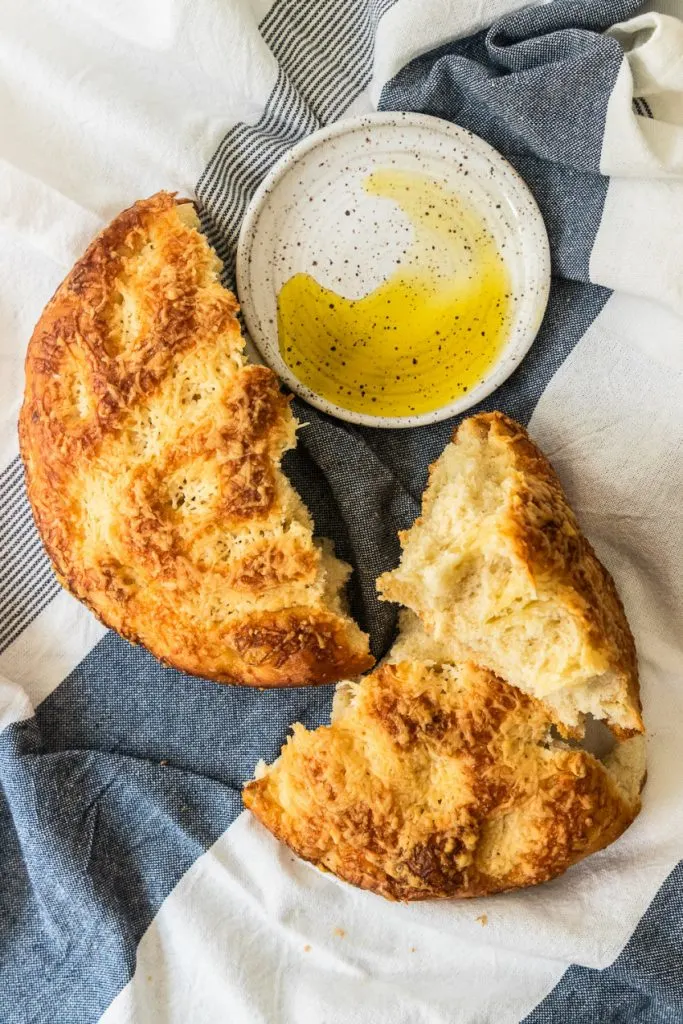
Have you ever had the Asiago Focaccia bread from Panera Bread? It’s pretty good, but if you make it yourself, it’s SO much better. A light, fluffy bread punctuated by bits of the salty, tangy asiago cheese. And then, there’s even more cheese piled on top that creates a bubbly, crusty layer as the bread bakes. That layer of cheese and the crusty, oily edges are incredibly delicious.
This is the kind of loaf that you can just tear into with your hands and eat plain or dip in a good olive oil. A loaf of asiago focaccia bread can elevate the simplest meal to something special.
And while you’ll probably want to eat this hot from the oven, torn into cheesy, warm chunks, it’s also great for making sandwiches. Paninis, savory breakfast sandwiches, you name it, having cheese in the bread as well as on the bread can only make things better. Or, serve it as a side for a dinner like these slow cooker chicken thighs.
Asiago Focaccia Ingredients
- Water — 1 1/2 cups warm water, but not too hot (over 110°F). Water that’s too hot will kill the yeast and prevent the bread from rising
- Yeast — 1 package of instant yeast, or 2 1/4 teaspoons
- Olive Oil — 1/2 cup extra virgin olive oil
- Salt –1 1/2 teaspoons of fine sea salt, or you can use a regular table salt
- Sugar — 1 tablespoon of sugar in the dough helps the loaves brown better
- Flour — 3 3/4 cup of all-purpose flour. I use King Arthur Flour, which has a high protein content for an all-purpose flour. Some other brands may have less gluten, which will give you a slightly different texture.
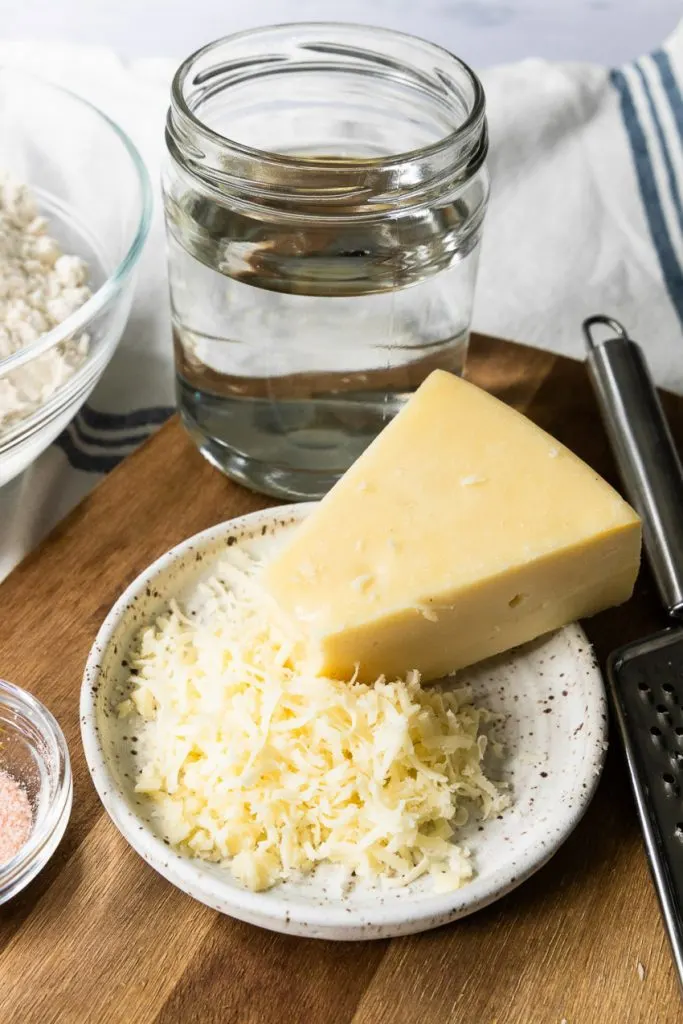
- Asiago Cheese — I recommend buying a wedge of Asiago cheese and shredding it for the best results. Pre-shredded cheese has a coating on it to prevent clumping, but that coating also prevents it from melting well.
What is Asiago Cheese?
Asiago is a cheese made from cow’s milk that originated in Italy in a town called… Asiago! While it can be crumbly when aged, the asiago typically found in markets is a younger cheese with a smooth texture. It’s a great texture for shredding and has a mild but distinctive flavor that makes it perfect to add a punch of flavor to baked goods.
How to Make Asiago Focaccia Bread
Making the Asiago Bread Dough
Begin by placing the water in the bowl of a stand mixer. It should be warm, but not hot (less than 110°F) so that it doesn’t kill the yeast. If you put your finger in the water, it should feel only slightly warm.
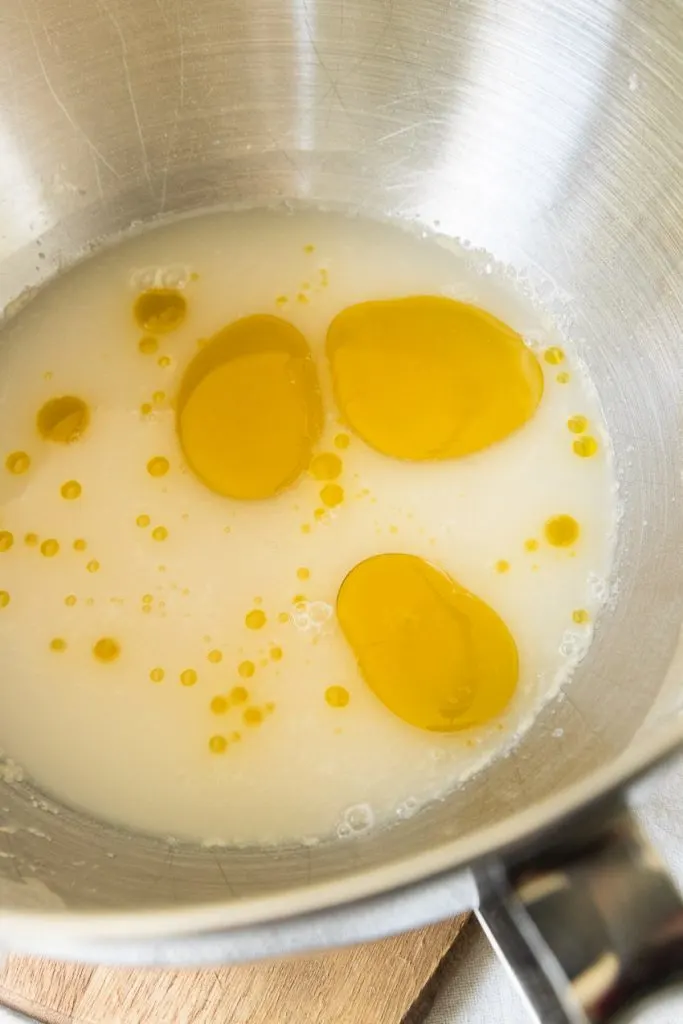
Sprinkle the yeast over the water and stir it in. Allow it to sit for about 10 minutes, or until the yeast has dissolved and become foamy. Stir in the olive oil.
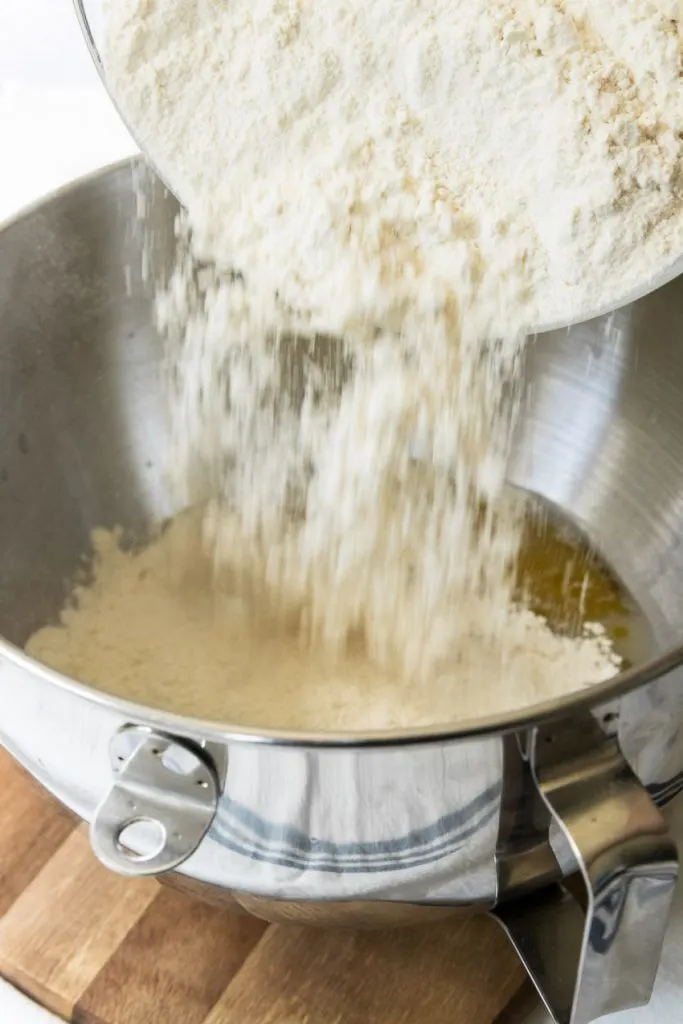
Add in the flour, salt, and sugar. Using the dough hook, stir on low until the dough has come together, scraping the sides with a rubber spatula. At that point, turn the mixer up to medium speed and knead the dough for 3-4 minutes.
Add in 1/2 cup shredded Asiago and mix the dough for another 2 minutes, or until it’s smooth and elastic. Remove the dough from the bowl, shape it into a ball, and rub it down with a bit of olive oil.
First Rise
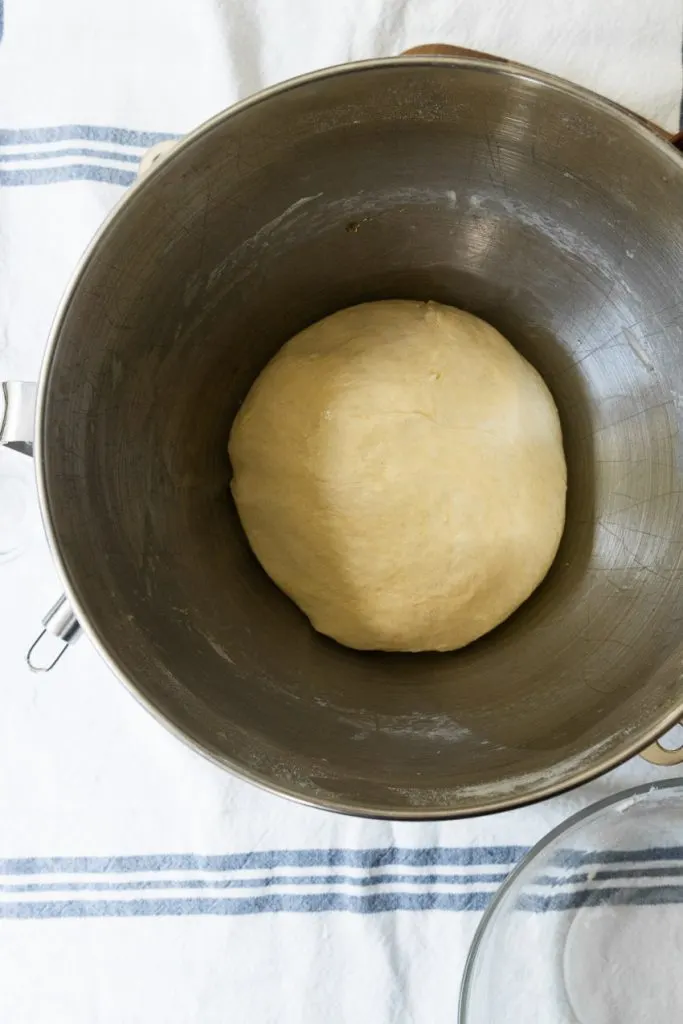
Place the dough in a large, clean mixing bowl and cover it with a cloth or sheet of plastic. Set it in a warm place without drafts and allow it to rise for 1 1/2-2 hours, or until the dough has doubled in size. It may take more or less time, depending on how warm or cold your kitchen is.
Once the dough has finished rising, it’s ready to put in pans. Drizzle about 2 tablespoons of olive oil into two 8″ or 9″ round pans. Alternatively, you can use a single 9×13″ baking dish.
Divide the dough in half, and work each half into a ball. Spread it out into the pans, making sure that the olive oil is completely covering the bottom of the dough.
Second Rise
Cover the dough again with either a clean towel or plastic wrap. At this point, you can either allow it to rise for about 1 1/2 hours, or you can put it in the refrigerator and leave it overnight. Allowing it to sit overnight will give it more flavor, and I recommend it if possible.
If you do choose to refrigerate the dough, make sure to allow it to warm up before baking. This will help the yeast become active again and will give you a better rise while baking.
Baking the Asiago Focaccia
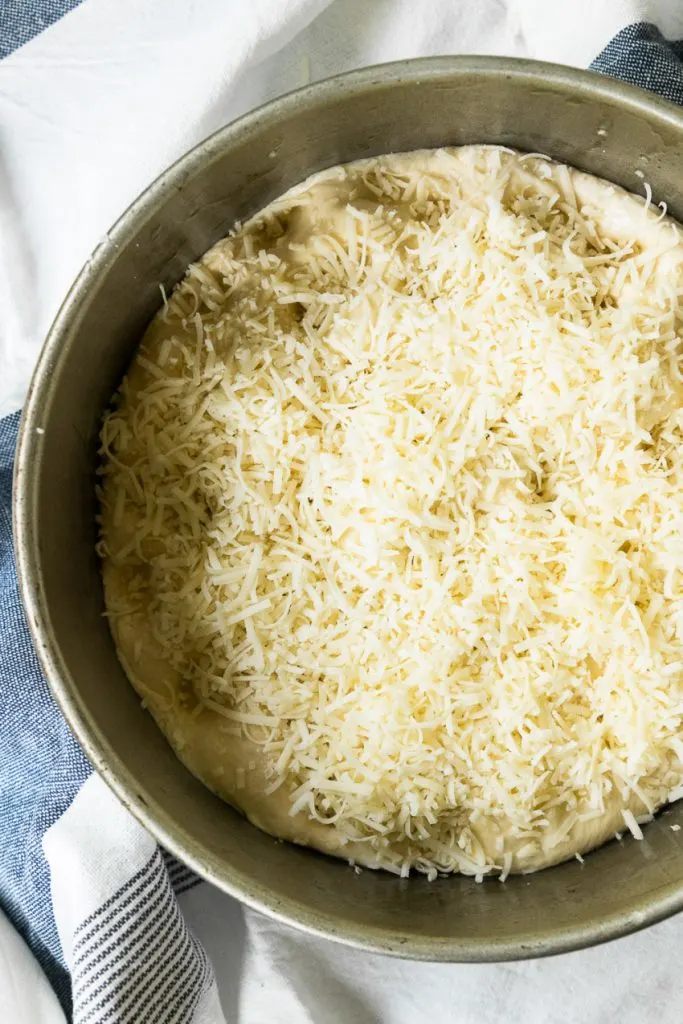
To bake the focaccia, make sure your dough is at room temperature if you’ve refrigerated it. Preheat the oven to 400°F. Drizzle about a tablespoon of olive oil over both pans of dough. Sink your fingers into the dough in multiple places, creating dimples across the top of the dough.
Sprinkle about a cup of cheese over the top of the loaves. Bake the focaccia for 30-35 minutes, or until the loaves are a golden brown color all over.
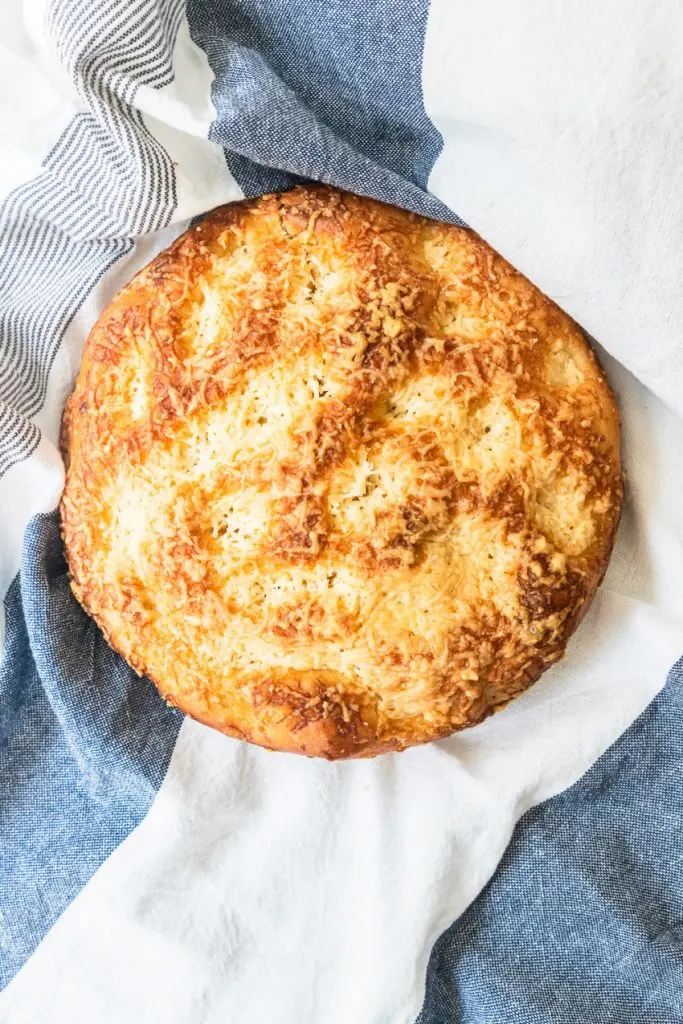
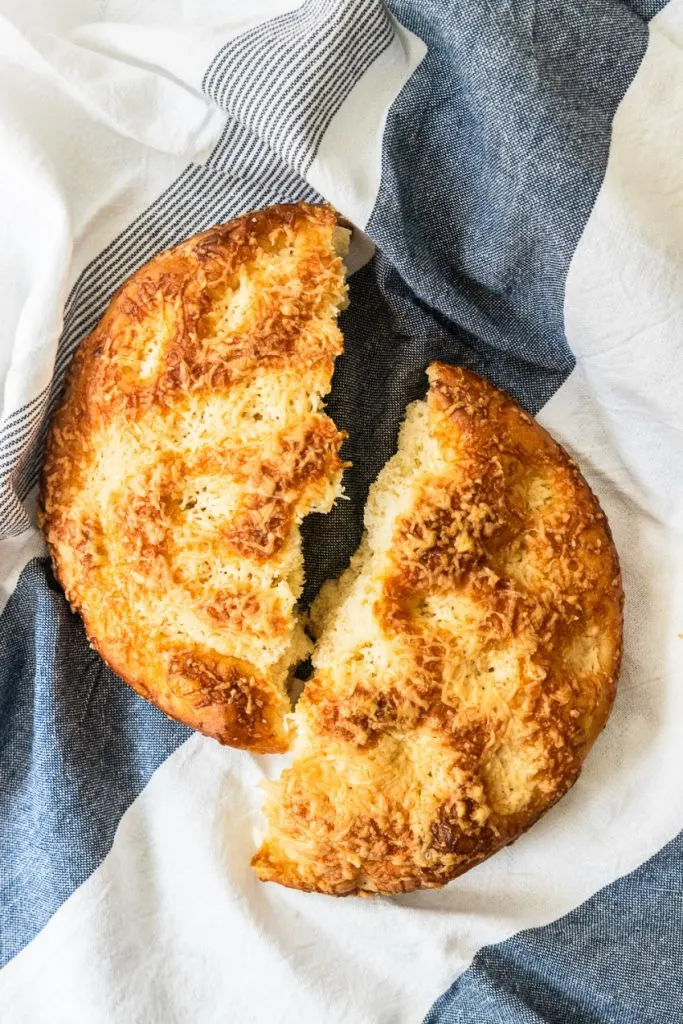
Remove the Asiago focaccia bread from the oven and allow it to cool for at least 30 minutes before tipping it out of the pans. Rip or slice the bread into pieces and serve it fresh.
Recipe Notes and Tips
When letting the dough rise (especially if it rises overnight), it’s important to not let it dry out. I recommend using a reusable plastic shower cap, or plastic wrap. If you do opt for a kitchen towel, wrap it tightly to keep it as airtight as possible.
Other Bread Recipes You May Enjoy:
PrintAsiago Focaccia
- Total Time: 0 hours
Description
Have you ever wondered what asiago cheese is used for? This Asiago Focaccia Bread recipe is your answer! The classic, fluffy Italian flatbread loaf gets a flavor explosion from asiago cheese mixed into and topping it.
Ingredients
- 1 1/2 cups water
- 1 package (2 1/4 teaspoons) dried yeast
- 1/4 cup olive oil
- 1 1/2 teaspoons salt
- 1 tablespoon sugar
- 3 3/4 cup (525 g) all-purpose flour
- 1 1/4 cups Asiago cheese
Instructions
Begin by placing the water in the bowl of a stand mixer. It should be warm, but not hot (less than 110°F) so that it doesn’t kill the yeast. If you put your finger in the water, it should feel only slightly warm.
Sprinkle the yeast over the water and stir it in. Allow it to sit for about 10 minutes, or until the yeast has dissolved and become foamy.
Add in the olive oil, flour, salt, and sugar. Using the dough hook, stir on low until the dough has come together, scraping the sides with a rubber spatula. At that point, turn the mixer up to medium speed and knead the dough for 3-4 minutes.
Add in 1/2 cup shredded Asiago and mix the dough for another 2 minutes, or until it’s smooth and elastic. Remove the dough from the bowl, shape it into a ball, and rub it down with a bit of olive oil.
Place the dough in a large, clean mixing bowl and cover it with a cloth or sheet of plastic. Set it in a warm place without drafts and allow it to rise for 1 1/2-2 hours, or until the dough has doubled in size. It may take more or less time, depending on how warm or cold your kitchen is.
Once the dough has finished rising, it’s ready to put in pans. Drizzle about 2 tablespoons of olive oil into two 8″ or 9″ round pans. Alternatively, you can use a single 9×13″ baking dish.
Divide the dough in half, and work each half into a ball. Spread it out into the pans, making sure that the olive oil is completely covering the bottom of the dough.
Cover the dough again with either a clean towel or plastic wrap. At this point, you can either allow it to rise for about 1 1/2 hours, or you can put it in the refrigerator and leave it overnight. Allowing it to sit overnight will give it more flavor, and I recommend it if possible.
If you do choose to refrigerate the dough, make sure to allow it to warm up before baking. This will help the yeast become active again and will give you a better rise while baking.
To bake the focaccia, make sure your dough is at room temperature if you’ve refrigerated it. Preheat the oven to 375°F and bake for ???, until the loaves are a golden brown color all over.
Remove the Asiago focaccia bread from the oven and allow it to cool for at least 30 minutes before tipping it out of the pans. Rip or slice the bread into pieces and serve it fresh.
- Prep Time: 20 minutes
- Rising Time(s): 3-24 hours


27+ Flavorful Focaccia Bread Machine Recipes You’ll Love Baking - kitchenhush
Monday 28th of July 2025
[…] Let’s Cook It ! […]
Italian Chicken Skillet Dinner - Good Things Baking Co
Tuesday 22nd of April 2025
[…] It’s all the carby comfort food goodness your heart desires, and it’s even better served with something like carbonara tteokboki or Asiago focaccia. […]
Donna
Saturday 21st of December 2024
You added 1/2 cup of cheese into the dough. Where does the other 3/4 of cheese go? I just went ahead and ate it 😂
How to Knead Dough for Pizza - Good Things Baking Co
Tuesday 13th of September 2022
[…] Pizza Crust Asiago Focaccia Bread Instant Pot Italian Chicken Thighs Print clock clock […]